IV Help Guide

Loading...

Slideshow Area

Welcome to our tutorial on managing the Slideshow Area widget. This visual guide will show you how to add or adjust slides, which you can add other widgets inside of. To begin click the arrow next to a topic below and our visual guide will appear. To advance to the next step simply click the next button inside the appropriate box.

  • To learn how to add a new Slideshow Area, please follow the instructions on the Add a New Widget page.
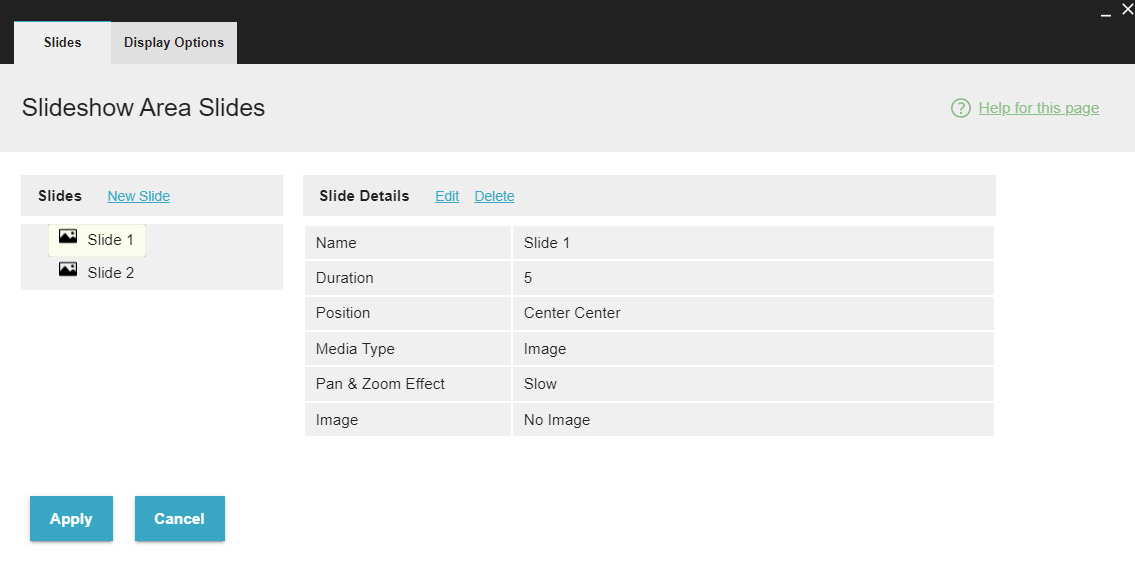
  • Edit your desired Slideshow Area or add a new one to the page. The Slideshow Area window will open. Click the slide you would like to change, or click New Slide. Then, click Edit.
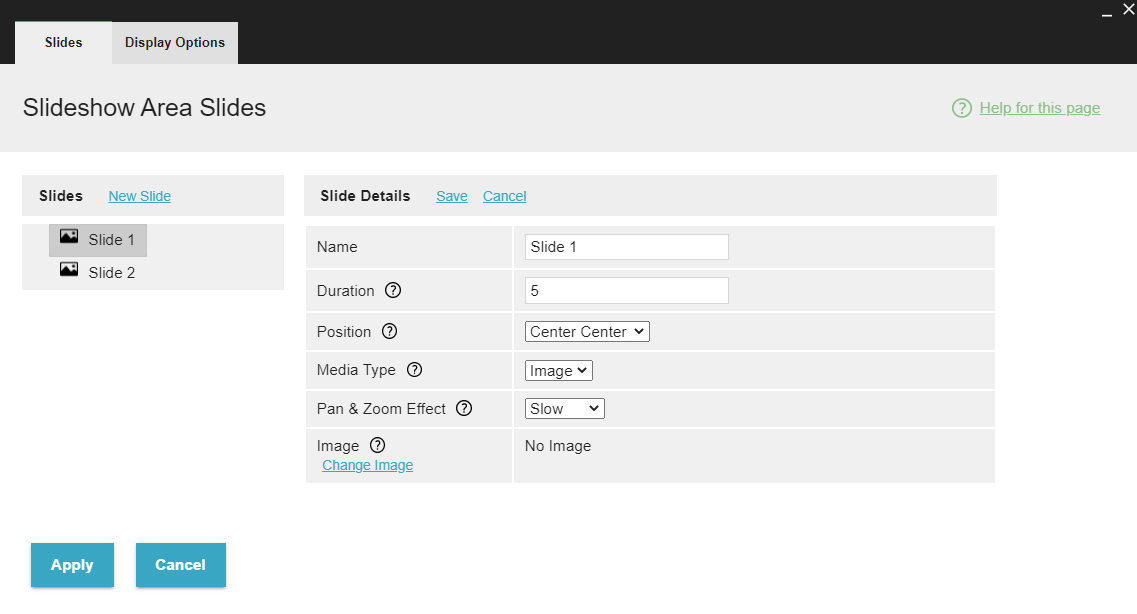
  • Name is the name of the slide as it appears in the editor. Duration is how many seconds the slide will appear before moving to the next. Position is how the image will be positioned in the window, in case the image has different proportions than the slideshow area itself. Media Type lets you choose to make the slide use a Video for the slide instead of an image, though an image must still be selected to appear on devices that do not support auto-play video. Pan & Zoom Effect lets you adjust the animation that the image goes through while the slide is active. When you are finished editing, click Save.
  • When you are finished editing, click Apply.
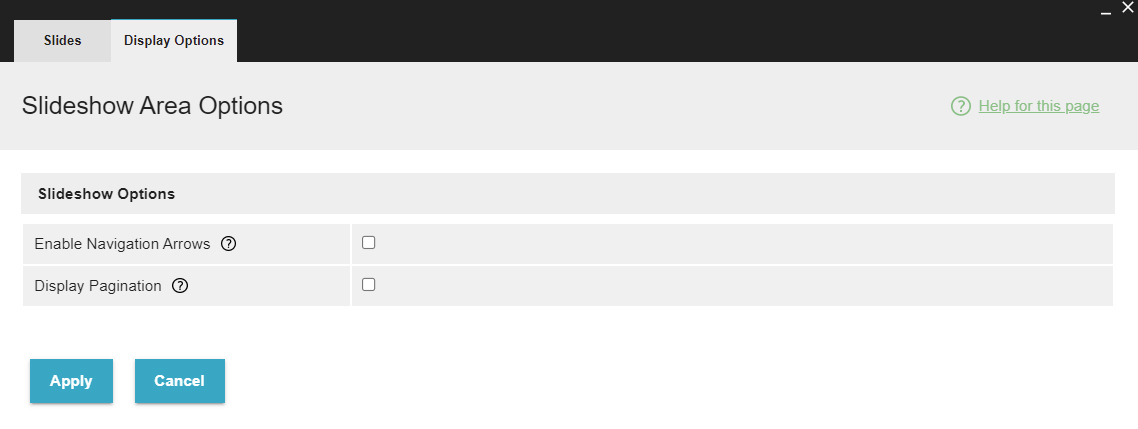
  • Edit your desired Slideshow Area or add a new one to the page. The Slideshow Area window will open. Click Display Options.
  • Check the box for each option you want enable. When you are finished editing, click Apply.
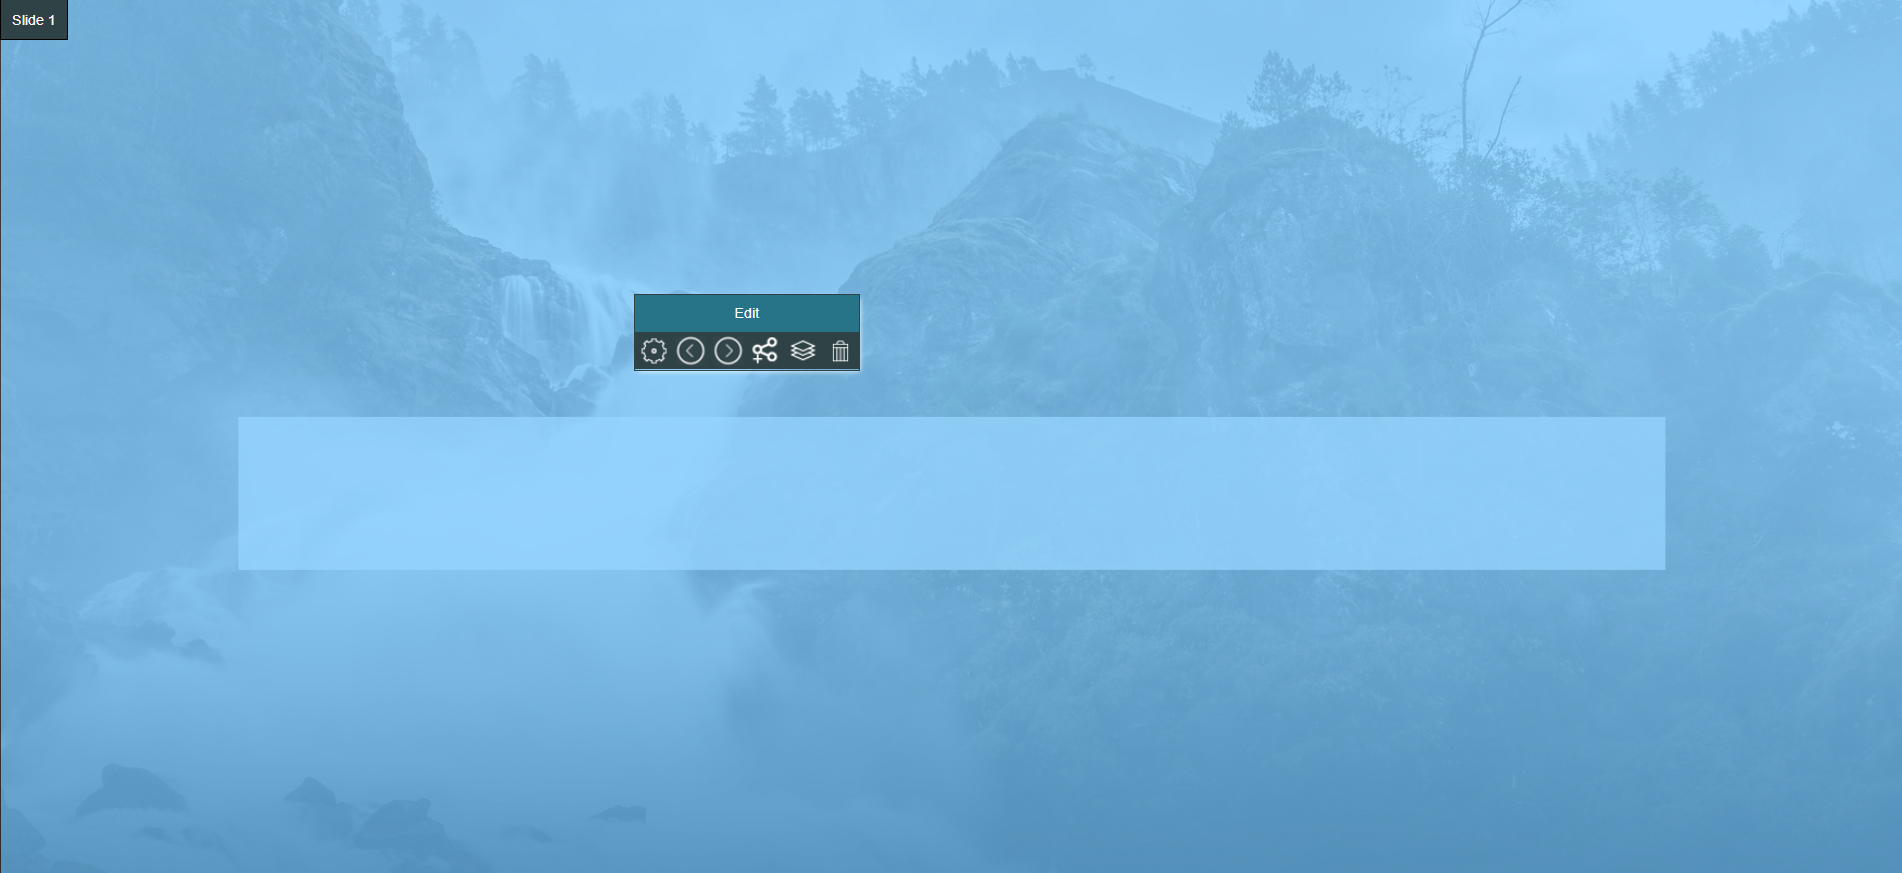
  • Move your mouse over the Area you would like to edit. The Slideshow Area will highlight in Blue and the Hover Menu will appear.
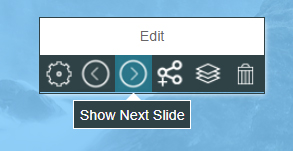
  • Click the left or right arrows until you find the slide you want.
  • Move your mouse over the Page Area or other contents in the slide. The Hover Menu will appear and you will be able to make changes as detailed elsewhere in this guide.
  • Move your mouse over the Area you would like to edit. The Slideshow Area will highlight in Blue and the Hover Menu will appear.
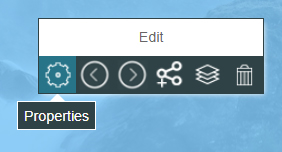
  • Click Properties
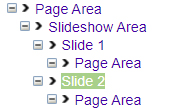
  • The Properties section will open. Click the name of the slide you want to edit widget in the list on the left.
  • Move your mouse over the Page Area or other contents in the slide. The Hover Menu will appear and you will be able to make changes as detailed elsewhere in this guide.
  • Move your mouse over the Area you would like to edit. The Slideshow Area will highlight in Blue and the Hover Menu will appear.
  • Click Properties
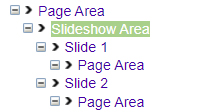
  • The Properties section will open. Click the name of your Slideshow Area widget in the list on the left.
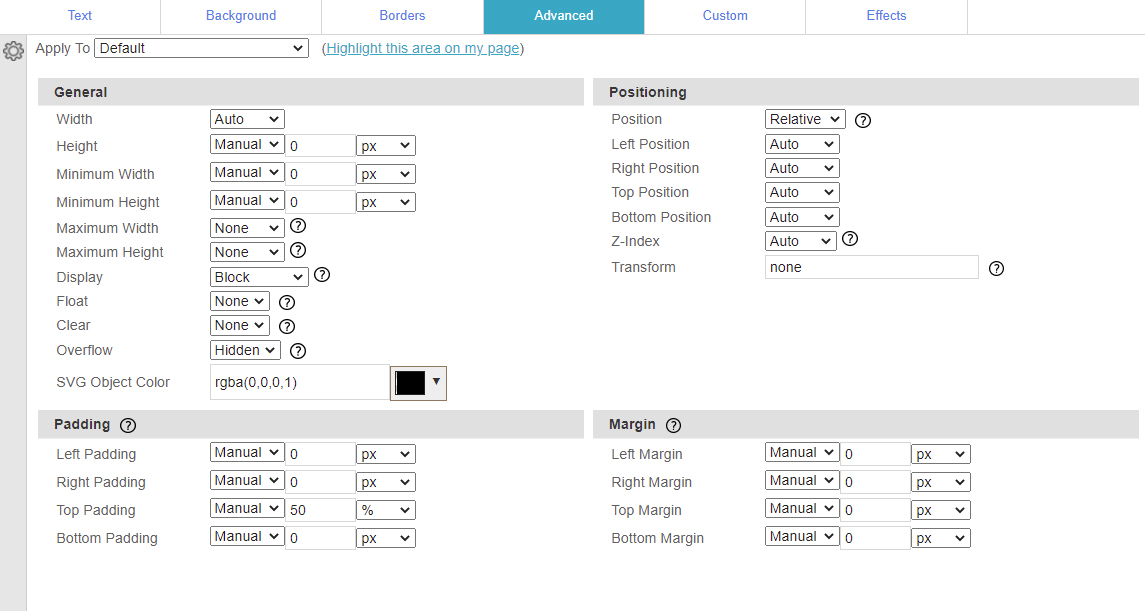
  • Click the Advanced tab. Set the Height to Manual and then enter 0. Then enter a Top Padding that is reflects the proportion of height-to-width of the images in your slideshow area slides. For example, if your images are 1600 x 800, their height is 50% of their width so you should enter a Top Padding of 50%. If your images have different proportions, choose a percentage that is roughly average for all of the images. We recommend that you do not use images that have very different proportions from each other.
  • Move your mouse over the Area you would like to edit. The Slideshow Area will highlight in Blue and the Hover Menu will appear.
  • Click Properties
  • The Properties section will open. Click the name of your Slideshow Area widget in the list on the left.
  • Click the Advanced tab. In the Apply To box, choose the feature you would like to change the color of, then click the colored box next to SVG Object Color to change the color.

© 2022 4.0 Help Guide