IV Help Guide

Optional Extensions
Welcome to our tutorial on optional extensions for your eCommerce.
- From the Web Site menu, highlight eCommerce and choose Manage Extensions.

- Find the extension you want to enable or disable in the list, and check the box next to it. Pay attention to the Extension Path, which will tell you where to find the extension in your eCommerce admin.

- Click Enable or Disable.

- In your eCommerce admin, choose System > Extensions > CatalogZoom settings.
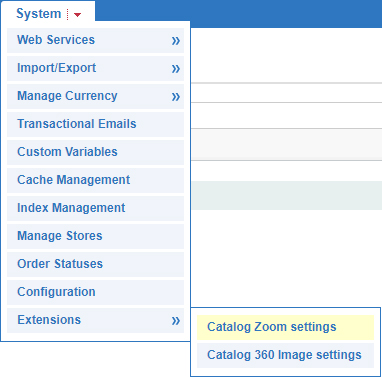
- Click Edit CatalogZoom default settings.

- Click the > arrow next to the settings you would like to change to expand the options, then make individual changes as needed. We recommend leaving most settings at default.
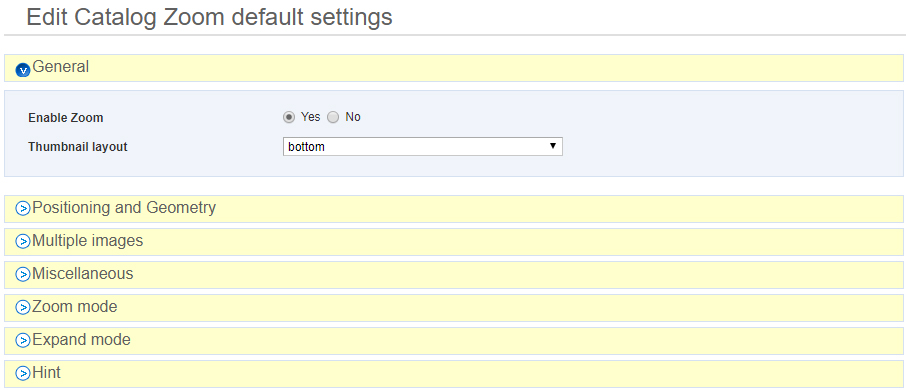
- When you're finished, click Save.

- Follow the steps from CatalogZoom Settings and click Miscellaneous to open those options.
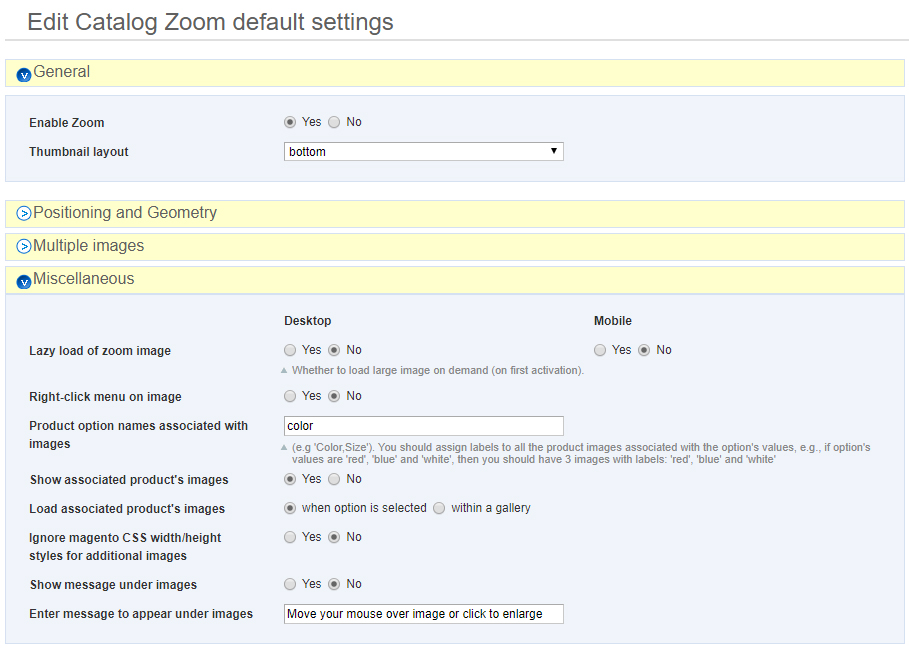
- For Product option names associated with images, type the names for each option you would like to use, separated by commas.

- Click Save.

- Follow the steps to create your configurable product or another product with custom options. Add an image to the product for each option and click Save.
- In the text field underneath the images, enter the option names that match the images.
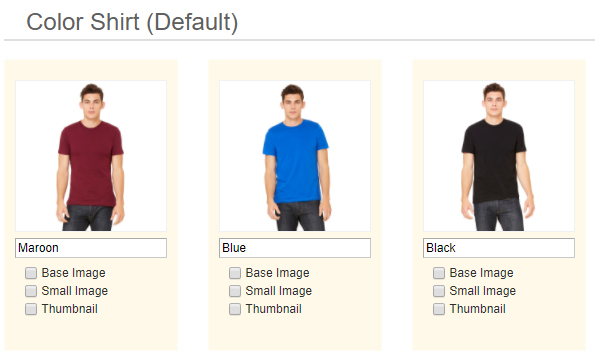
- When you're finished, click Save.

- In your eCommerce admin, choose System > Extensions > Catalog 360 Image settings.
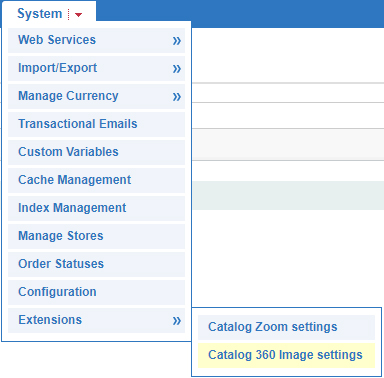
- Click Edit Catalog 360 Image default settings.

- Click the > arrow next to the settings you would like to change to expand the options, then make individual changes as needed. We recommend leaving most settings at default.

- When you're finished, click Save.

- In your eCommerce admin, create and save the product you would like to add the images to.
- When creating your images, the images should be named in the format "product-[vertical number]-[horizontal number]". For example, the first image for a shirt would be called something like "shirt-1-1.jpg". The second image in a horizontal (left/right) rotation would be called "shirt-1-2.jpg". To download an ZIP file with example images for a 360 product, click here.
For most products, we recommend using a 360 degree horizontal (left/right) rotation. To create a 3D spin that rotates up/down as well as left/right, the product should be photographed in different vertical positions, two or more for each horizontal position. In the following example of a 12x4 spin, Number of images on X-axis = 12, Number of images on Y-axis = 4, and total number of images = 48: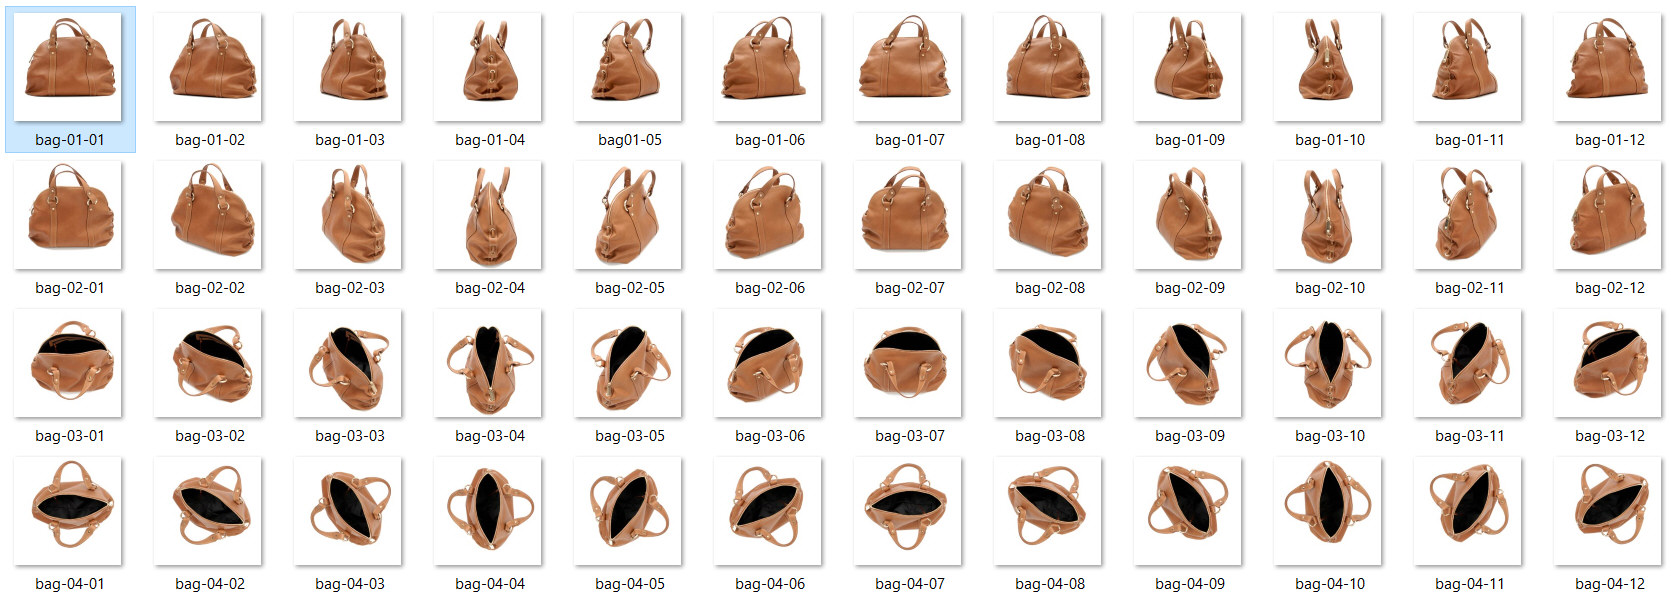
- After creating your images, edit the product and click the Catalog 360 Image tab.
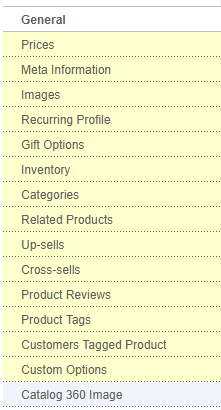
- Click Browse Files to find and select the images from your computer, then click Upload Files.

- If you are using vertical (up/down) images for your product, check the box for Up/down and left/right spin, then enter values for Number of images on X-axis Number of images on Y-axis. If you are just using horizontal (left/right) images, those fields can be left alone.

- When you're finished, click Save.

- In your eCommerce admin, choose System > Web Services > SOAP/XML-RPC - Roles.
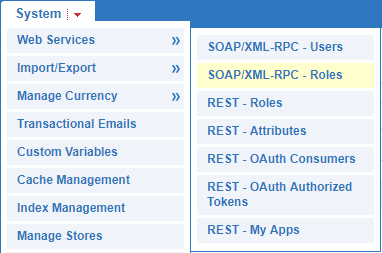
- Click Add New Role.

- Enter "Everything" as the Role Name.

- Click Role Resources.

- SetResource Access to All.

- Click Save Role.

- In your eCommerce admin, choose System > Web Services > SOAP/XML-RPC - Users.
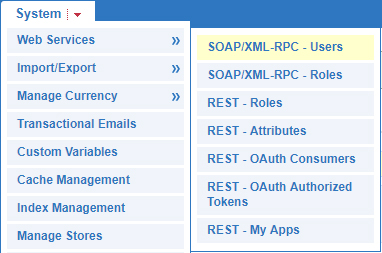
- Click Add New User.

- Fill out the fields as you desire. The User Name and API Key fields can be any values you can remember to be entered in the AfterShip interface. The API Key Confirmation field must match the API Key.
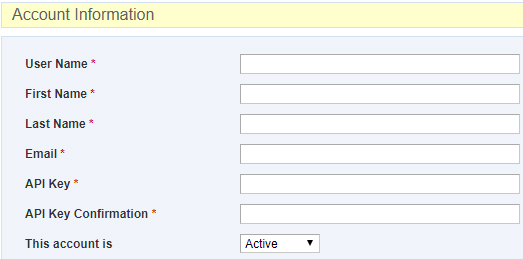
- Click Save User.

- Click User Role.

- Check Everything.

- Click Save User.

- Login to your Aftership account and provide your Store URL (the address of your website ecommerce), User Name, and API Key.
- In your eCommerce admin, choose Sales > Sell on eBay > Configuration.
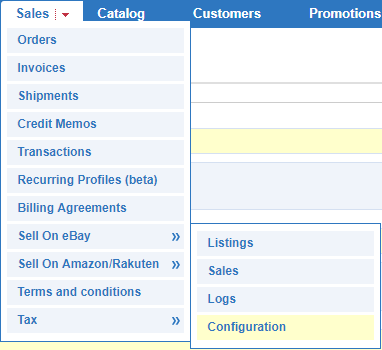
- Click Start Configuration.

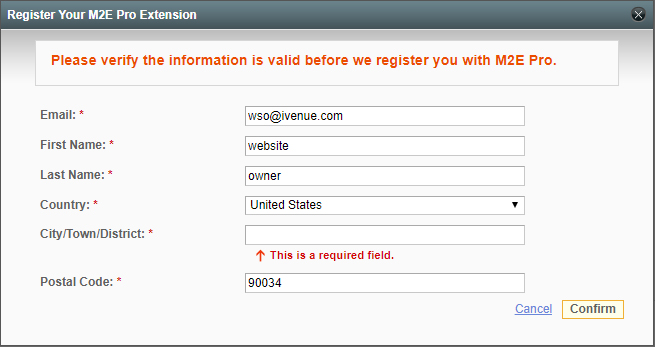
- Click Register and Link to eBay.

- Fill out the form and click Confirm.
- Click Sign into eBay.

- Sign into your eBay account.
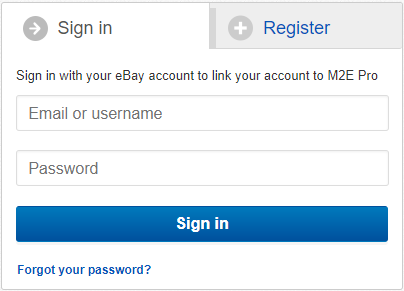
- Click Agree.

- CheckSimple and click Continue.

- Click Create an M2E Pro Listing.

- Click Continue.

- Enter a Title, choose an eBay Site, and choose a Store View. When you're finished, click Next Step.

- Fill out your Payment, Shipping, and Return information. When you're finished, click Next Step.

- Fill out your Price, Quantity, and Format information. When you're finished, click Next Step.

- Click Continue.

- CheckProducts List and click Continue.

- Check the products you want to sell and click Continue.

- Check Get Suggested Categories and click Continue.

- Tweak any needed specifics and click Next Category. Repeat for each category.

- Click List Added Products Now.

- In your eCommerce admin, choose Affiliate > Manage Affiliates.
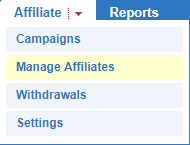
- Click Add New.

- Click the customer account you would like to make an affiliate. The customer must have a pre-existing account either created on your website or in your ecommerce admin.

- Click Save Affiliate. The customer will now be eligible for any affiliate campaigns you create.

- In your eCommerce admin, choose Affiliate > Campaigns.
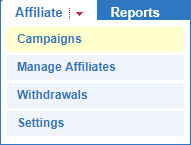
- Click Add New.

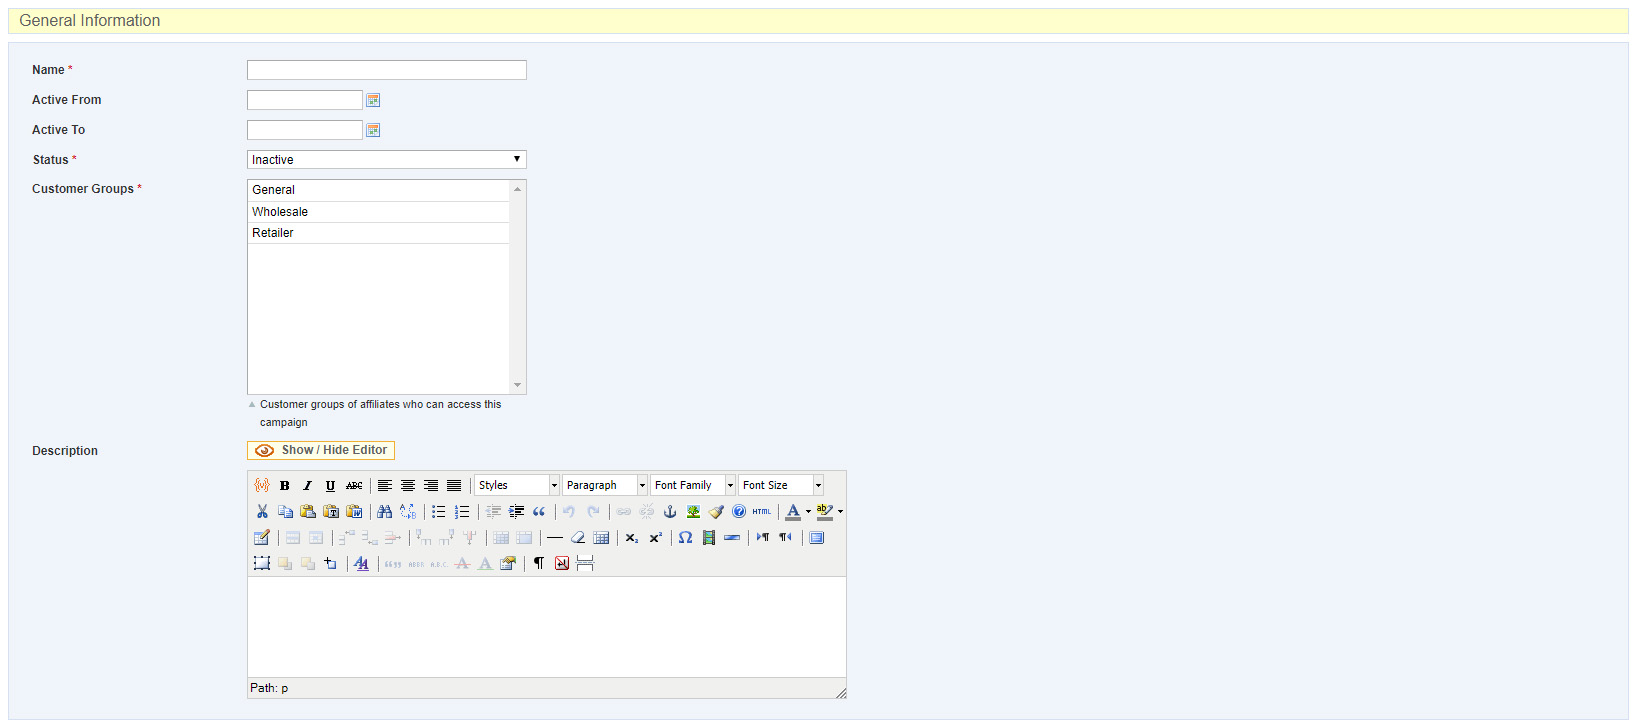
- In the General tab, enter a name, choose a status, and choose one or more customer groups. You may also choose a date range and enter a description.
- In the rate tab, you can choose a Type of commission your affiliates will earn. A Fixed Percent Rate will give a consistent percentage for all orders. A Tier Percent Rate will allow you to set different percentages for different order totals. A Fixed Amount will give a flat amount for each order. A Tier Amount will allow you to set a different flat amount for different order totals.

- In the promotions tab, you can set the campaign to apply based on specific product or cart conditions, in the same way that Promotions work.

- When you're finished, click Save Campaing.

- Your affiliates will need to go to the Affiliate Program section of their customer account, and click View next to the new campaign.
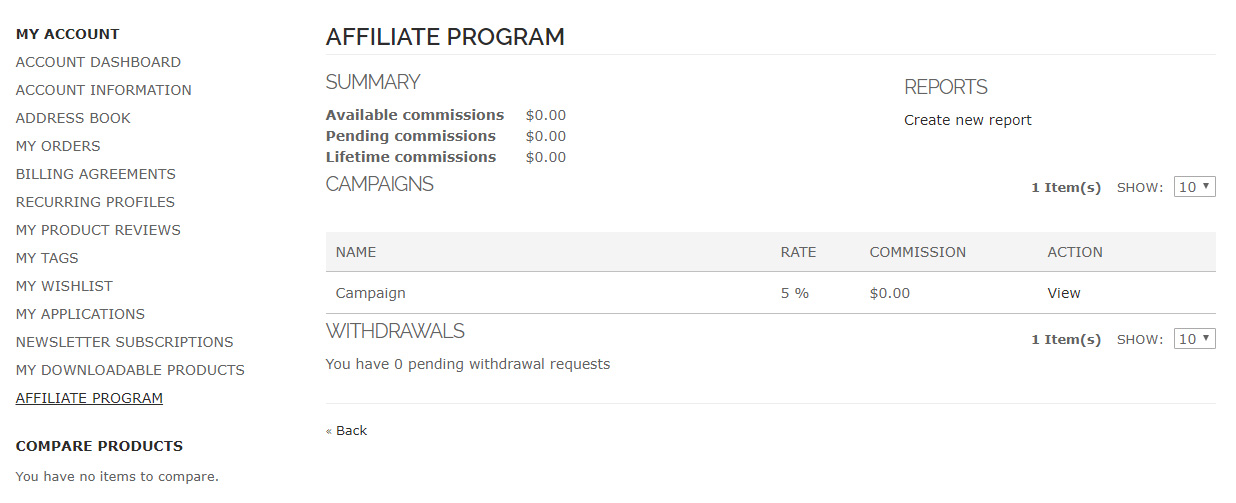
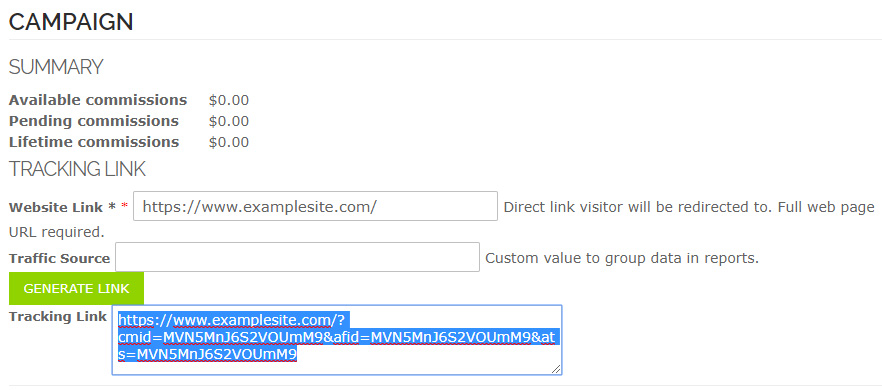
- The affiliates should click the Generate Link button, then use the link provided to link to your site from theirs. They will receive the commission on any orders that begin by clicking that link.
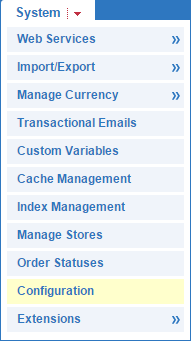
- In your eCommerce admin, choose System > Configuration.
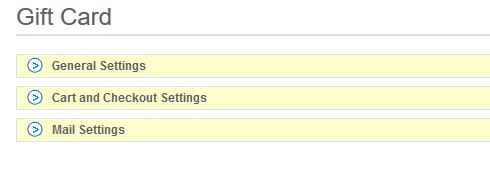
- From the side menu, choose Gift Card.

- Click General Settings to expand it
- Set Is Active to Yes.

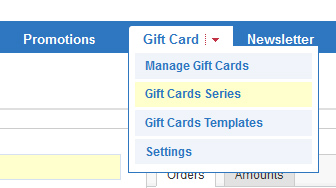
- From the Gift Cards menu, choose Gift Cards Series.
- Click Add New.

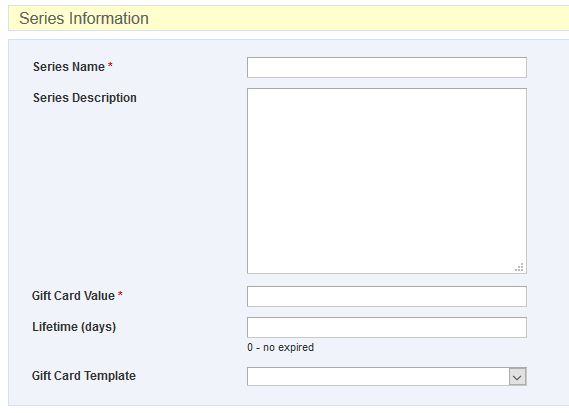
- Enter a Series Name and Gift Card Value, then choose a Gift Card Template.
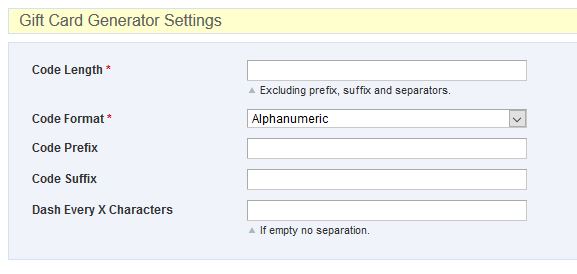
- Enter a Code Length for the code customers will enter when redeeming the card, and choose a Code Format.
- Click Save.

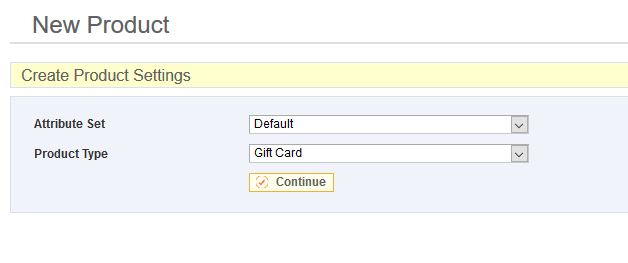
- Create a new product, choosing Gift Card as the Product Type.
- While editing the new product, go to the Assign Gift Card Series tab, and select the series you created earlier. If you want to sell multiple value options from one product, you can select multiple series. When you are finished editing, click Save
