IV Help Guide

Loading...

Products

Welcome to our tutorial on adding your products to your website. There are several types of products you can create - Simple, Virtual, Downloadable, Configurable, Grouped, and Bundled. You can also import your products using a properly formatted spreadsheet, or export a backup copy for your records. Below you will find instructions on adding the various types of products including information on which product type is right for your products.

To begin click the arrow next to a topic below and our visual guide will appear. To advance to the next step simply click the next button inside the appropriate box.
  • Simple - A simple product is a basic product. While you can offer many Custom Options, there is less customization available than with other product types.
  • Virtual - A virtual product is just like a Simple Product, but it does not require shipping.
  • Downloadable - A downloadable product lets you sell computer files (like mp3 or pdf) for your shoppers to download.
  • Configurable - A configurable product uses Attributes to offer extensive customizable options.
  • Grouped - A grouped product lets you sell multiple Simple or Virtual products from one page.
  • Bundle - A bundle product let customers “build their own” package from an assortment of options.
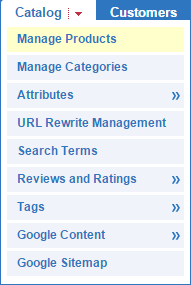
  • From the navigation menu, choose Catalog> Manage Products.
  • Click Add Product.
  • Choose an Attribute Set, set Product Type to Simple Product, and click Continue.
  • Enter a Name.
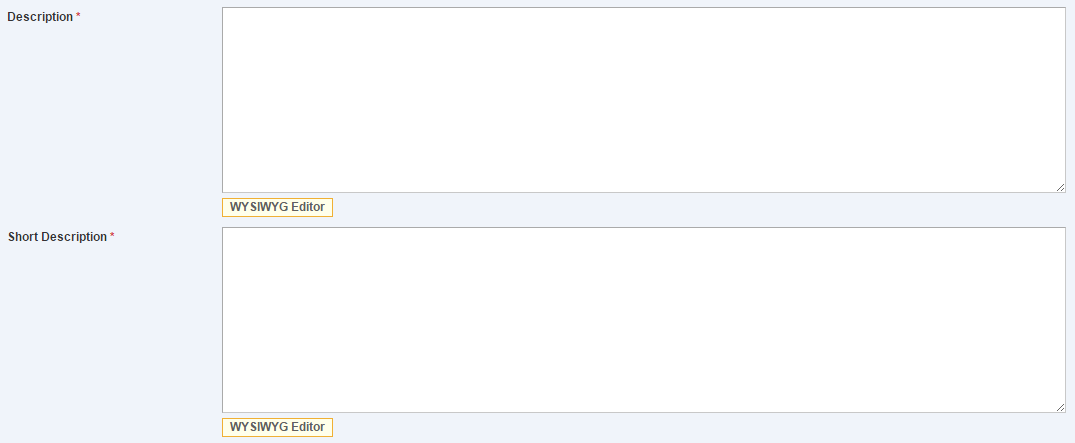
  • Enter a Description and Short Description.
  • Enter a SKU.
  • Enter a Weight.
  • Set Status to Enabled.
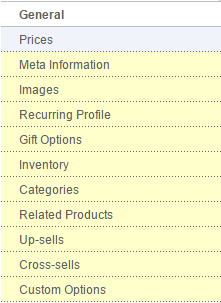
  • Click Prices.
  • Enter a Price.
  • Select a Tax Class.
  • When you're finished, click Save.
  • From the navigation menu, choose Catalog> Manage Products.
  • Click Add Product.
  • Choose an Attribute Set, set Product Type to Virtual Product, and click Continue.
  • Enter a Name.
  • Enter a Description and Short Description.
  • Enter a SKU.
  • Set Status to Enabled.
  • Click Prices.
  • Enter a Price.
  • Select a Tax Class.
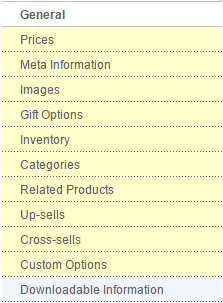
  • Click Downloadable Information.
  • Click Add New Row.
  • Enter a Title for the file. You can also enter a Price and a number of Max. Downloads.
  • Click the ... under File, and browse your computer to find the file you want. Repeat this step for each file you want to add. You can also add a Sample file that can be viewed before the purchase is completed.
  • When you're finished, click Save.
  • First you will need to create the Simple and/or Virtual products that you want to add to the group.
  • From the navigation menu, choose Catalog> Manage Products.
  • Click Add Product.
  • Choose an Attribute Set, set Product Type to Grouped Product, and click Continue.
  • Enter a Name.
  • Enter a Description and Short Description.
  • Enter a SKU.
  • Enter a Weight.
  • Set Status to Enabled.
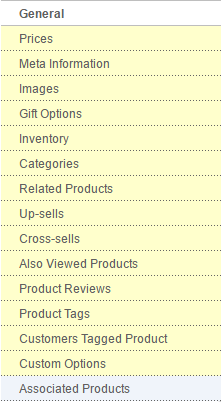
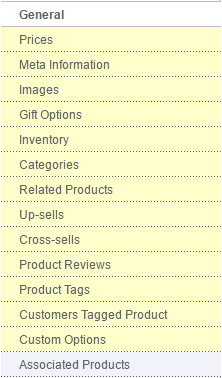
  • Click Associated Products.
  • Check the box for each product you want to add to the group.
  • When you're finished, click Save.
  • First you will need to create the Simple and/or Virtual products that you want to add to the bundle.
  • From the navigation menu, choose Catalog> Manage Products.
  • Click Add Product.
  • Choose an Attribute Set, set Product Type to Bundle Product, and click Continue.
  • Enter a Name.
  • Enter a Description and Short Description.
  • Enter a SKU.
  • Enter a Weight.
  • Set Status to Enabled.
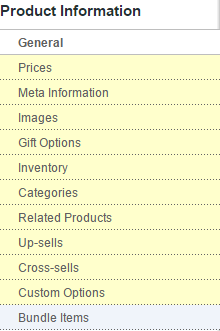
  • Click Bundle Items.
  • Choose whether you want to Ship Bundle Items Separately or Together.
  • Click Add New Option.
  • Enter a Default Title.
  • Choose an Input Type.
  • Click Add Selection.
  • Click Reset Filter.
  • Check the box for each product you want to add to the bundle, then click Add Selected Product(s) to Option.
  • You can repeat the previous steps for each different option you want to offer. When you're finished, click Save.
  • First, you will need to set up the Attributes and Attribute Sets
  • you will be using for the new product.
  • From the navigation menu, choose Catalog> Manage Products.
  • Click Add Product.
  • Choose an Attribute Set, set Product Type to Configurable Product, and click Continue.
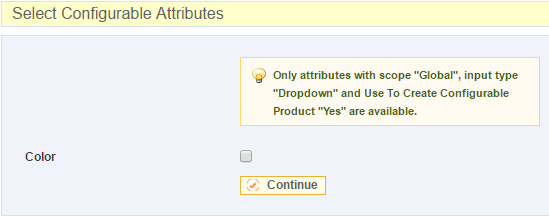
  • Check the box for each Attribute you would like to use in this product, and click Continue.
  • Enter a Name.
  • Enter a Description and Short Description.
  • Enter a SKU.
  • Enter a Weight.
  • Set Status to Enabled.
  • Click Prices.
  • Enter a Price.
  • Select a Tax Class.
  • When you're finished, click Save.
  • From the navigation menu, choose Catalog> Manage Products.
  • Click the product you would like to edit.
  • Click Associated Products.
  • Under Quick simple product creation, enter a Weight.
  • Set Status to Enabled.
  • Select a Visibility. Not Visible Individually and Catalog are the recommended settings.
  • Set the attribute setting(s) for the first product, then (if appropriate) enter a price for selecting that choice.
  • If the product is going to have a limited stock, enter a Qty.
  • Click Quick Create. You can repeat these steps for every combination of attributes available for the configurable product.
  • When you're finished, click Save.
  • From the navigation menu, choose Catalog> Manage Products.
  • Click the product you would like to edit.
  • Click Associated Products.
  • Under Create Simple Associated Product, click Copy From Configurable. A new window will open where you can create a new simple product.
  • From the navigation menu, choose Catalog> Manage Products.
  • Click the product you would like to edit.
  • Click Associated Products.
  • Click Reset Filter.
  • Check the box for each product you want to add to the group.
  • When you're finished, click Save.
  • From the navigation menu, choose Catalog> Manage Products.
  • Click the product you would like to edit.
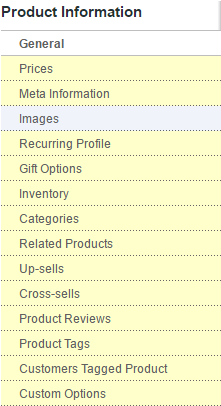
  • Click Images.
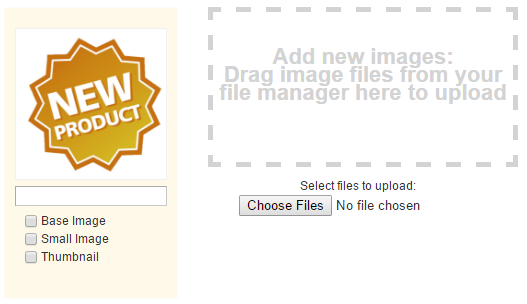
  • Click Choose Files, then browse your computer to find the image(s) you want.
  • The image(s) will appear with three checkboxes to denote the Base Image, Small Image, and Thumbnail. Check the boxes under the image(s) you want to fill those rolls.
  • When you're finished, click Save.
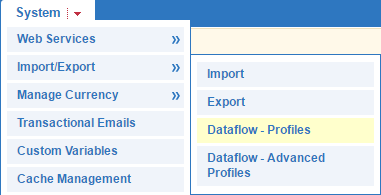
  • From the navigation menu, choose System > Import/Export > Dataflow - Profiles.
  • Click Export All Products.
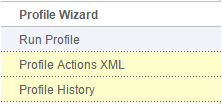
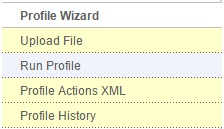
  • Click Run Profile.
  • Click Run Profile in Popup.
  • A new window will open to run the export. At the end, there will be a link to download the CSV file. This file can be opened in edited in any spreadsheet program.
  • If you haven't already, we strongly recommend creating a product and following the steps to Export Products to a Spreadsheet File.
  • Open the file in your chosen spreadsheet program. Each row you add will create a new product when this file is Imported. Use the existing products as a guideline for any fields you do not understand. Please feel free to contact Technical Support for guidance editing this file for the first time. If you wish to attach images to products via import, enter the filenames of the images in the image columns of the spreadsheet. Any image files you reference should be uploaded to the __ecommerce folder of the File Manager.When you are done editing, save the file.
  • From the navigation menu, choose System > Import/Export > Dataflow - Profiles.
  • Click Import All Products.
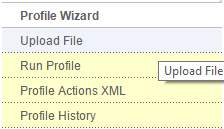
  • Click Upload File.
  • Click the first Choose File, find the file on your computer, and select it.
  • Click Save and Continue Edit.
  • Click Run Profile.
  • Select the file you just uploaded, then click Run Profile in Popup.
  • A new window will open to run the import. Depending on how many products are imported, this may take a few minutes.

© 2022 4.0 Help Guide