IV Help Guide

Loading...

Campaigns and Email Templates

Welcome to our tutorial on creating an Email Campaign using an Email Template. The Email Campaign tool is a powerful feature we offer to allow you to better connect with your customers using either imported email lists or emails collected from a form on your website. The tutorial below will walk you through setting up an Email Template, effectively the email that will be sent to all of your customers notifying them of a new product, sale, or just reminding them how much you value your business. From there we will explain how to create a New Campaign using that template to setup the date and time your customers will receive the email. Finally we will show you how to add specific contacts to the campaign allowing you to send targeted emails to specific customers, or just send out a mass notification to everyone. If you have any further questions on how to use our Email Campaign tool please feel free to contact our 24/7 technical support for a full walkthrough.

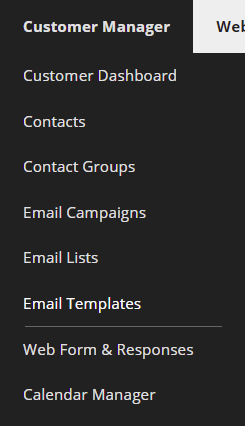
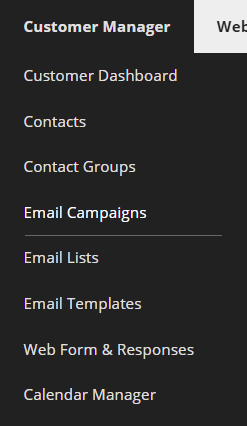
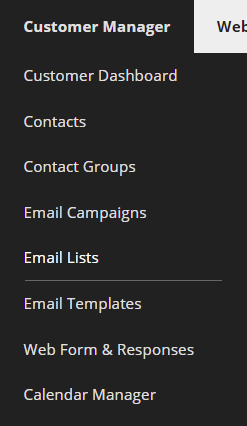
  • From the Customer Manager menu, select Email Templates.
  • Click New Email Template.
  • You can either choose to start from one of your existing templates, or click Template Library to choose from there.
  • Choose the design you like best, then click Next >
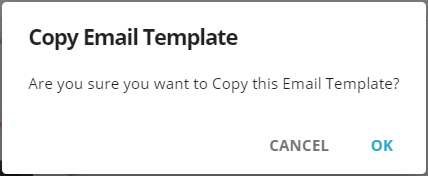
  • Click Ok
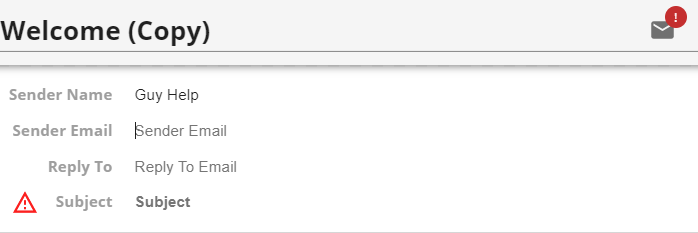
  • Enter an Email Template Name, which is the name you'll use to select the template for future use.
  • Click the envelope icon, then enter a Sender Name, Sender Email, Reply To Email, and Subject.
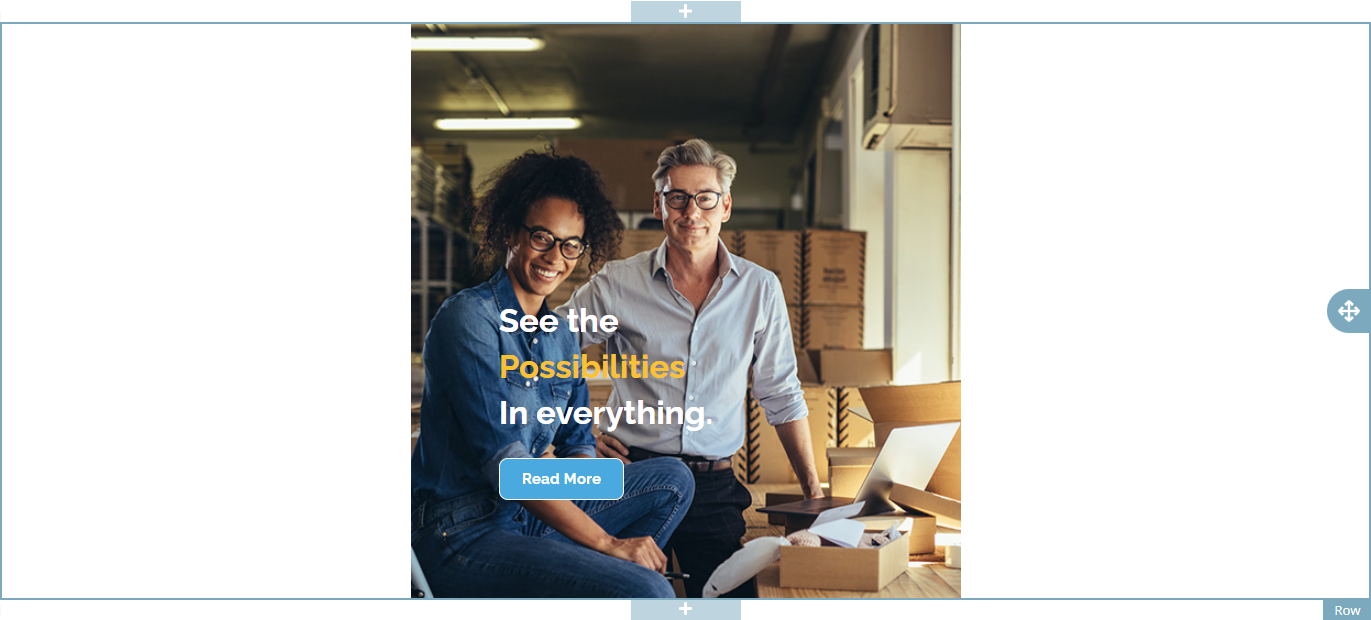
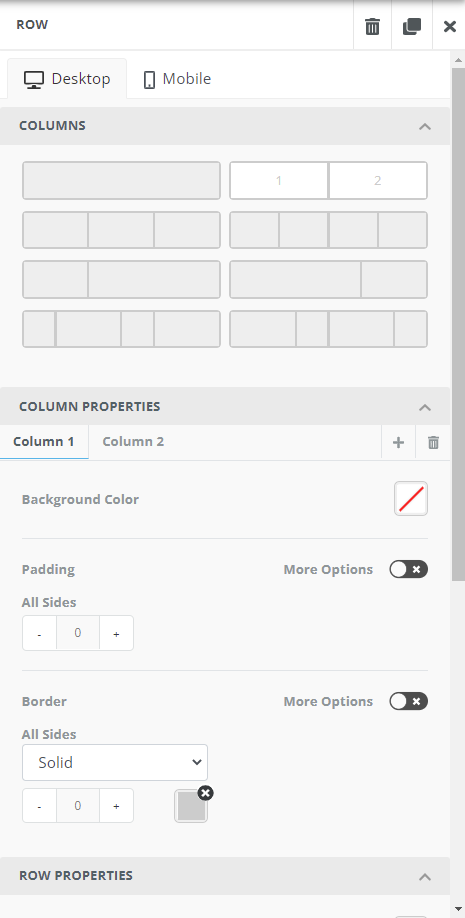
  • The email template uses Rows. You can add a new row by hovering over an existing one and clicking the Plus icon above or below it. You can edit the Row's properties by hovering over it and clicking the icon on the far right.
  • The Row properties let you choose the column layout, the appearance of each column, and the background of the full row. You can choose to edit for Desktop or Mobile view, and can choose to hide the selected row in either view.
  • You can edit any existing content by clicking on it. While you are not editing a specific row or content, you can drag and drop one of the content icons from the right side to add new content to the template.
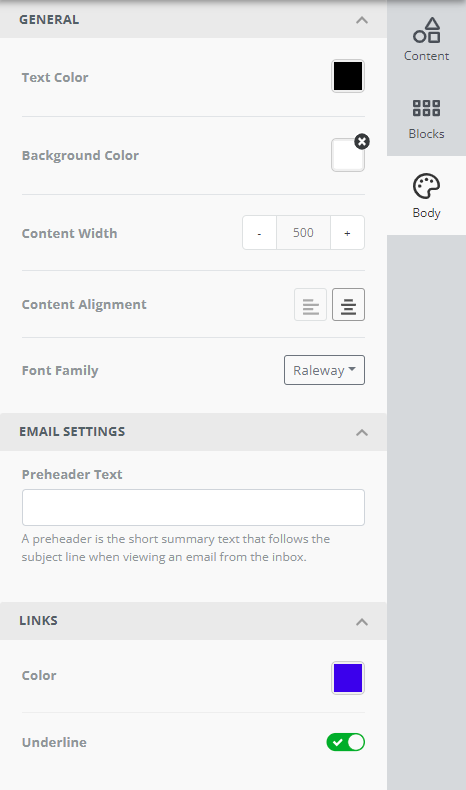
  • To change the general appearance of the template, click the Body icon on the far right to open the general properties.
  • When you're finished, click Save.
  • From the Customer Manager menu, select Campaigns.
  • Click New Campaign.
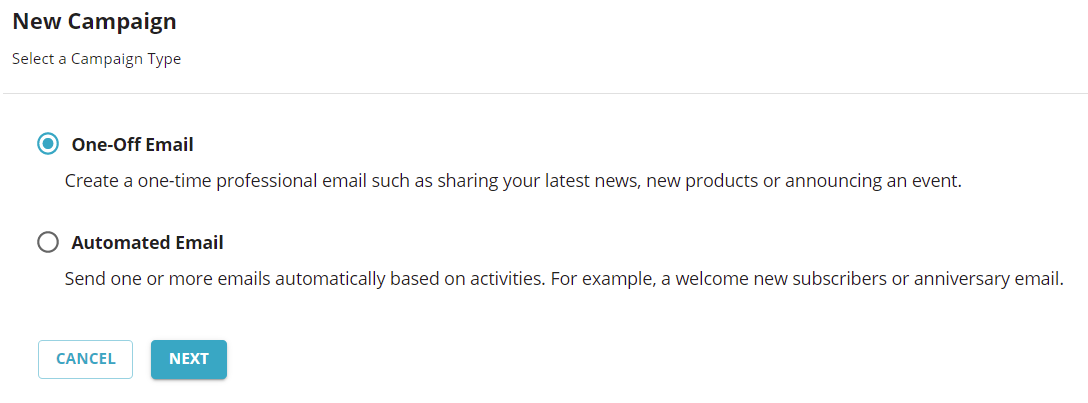
  • Choose One-Off Email and click Next.
  • Choose the template you want to use and click Proceed to Campaign.
  • Fill out the fields in gray, then click Save & Schedule.
  • From the Customer Manager menu, select Campaigns.
  • Click New Campaign.
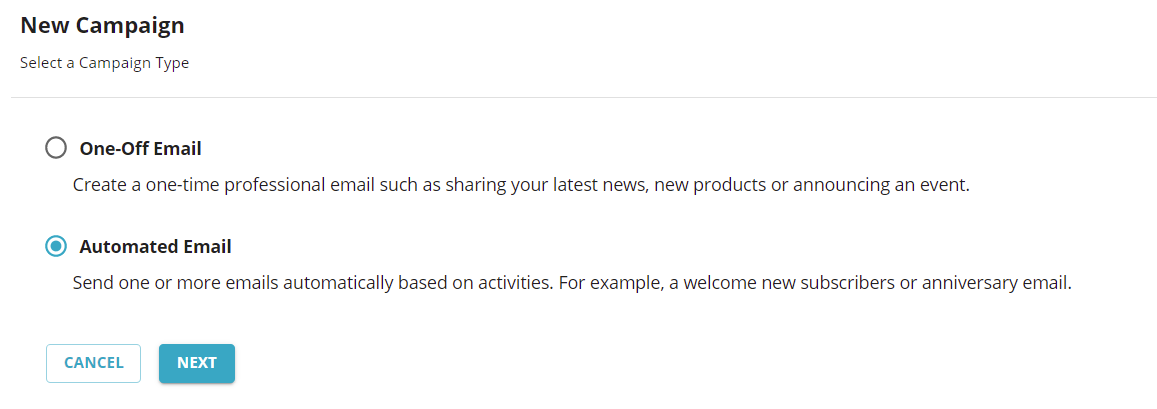
  • Choose Automated Email and click Next.
  • Fill out the fields in gray, then click Next.
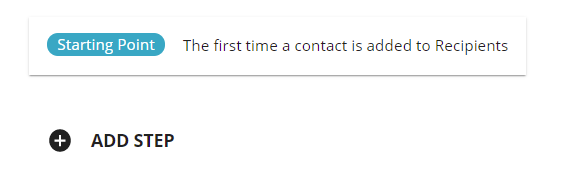
  • Click Add Step.
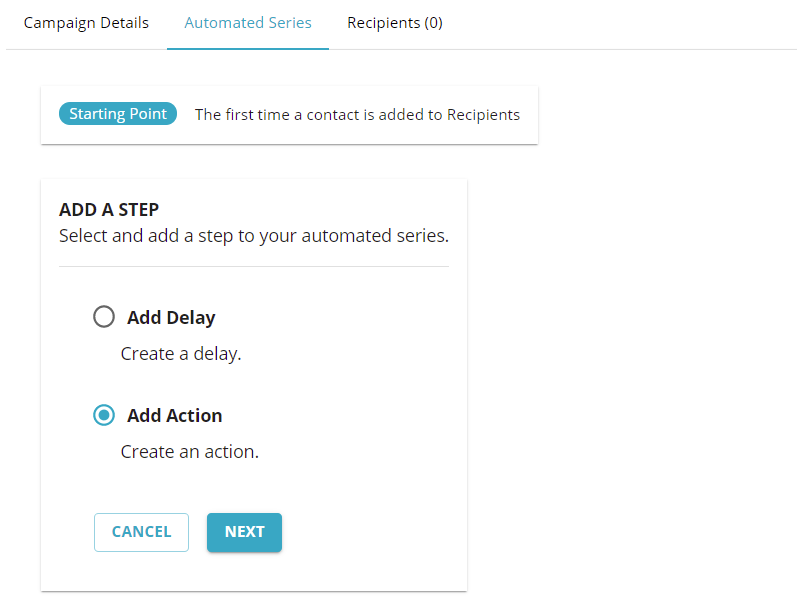
  • You can either Add Action to add a new email template to the campaign, or Add Delay to add time between the campaign emails getting sent.
  • Repeat the preceding steps until you have your full campaign planned out, then click Activate.
  • Click Recipients.
  • Click Enter or Paste Recipients.
  • Enter emails until you are finished, then click Next. With an automated campaign, you can add recipients at any time until you Complete the campaign.
  • From the Customer Manager menu, select Email Lists.
  • Click New Email List.
  • Enter a Name and click Save.
  • Click the list you just created.
  • Click Contacts in the List.
  • Click Select Contacts.
  • Click all of the Contacts you want, then click Next.
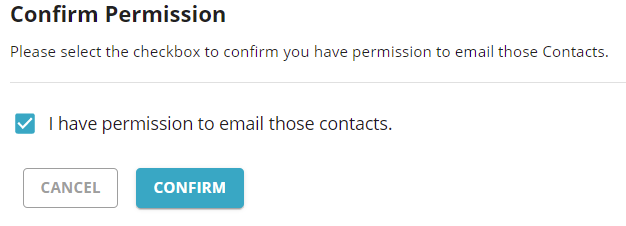
  • Check the box and click Confirm.

For more information about Contacts, visit the Contacts page.

  • From the Customer Manager menu, select Email Campaigns.
  • Click the campaign you want to edit.
  • Click Recipients.
  • Click Enter or Paste Recipients.
  • Enter an Email, First Name, and Last Name. You can click Add Recipient to add a new row. When you are done, click Next.
  • Check the box, then click Confirm.

For more information about Contacts, visit the Contacts page.

While editing your Newsletters, you can also include data from your CRM system in the body of the Newsletter. You would enter one of the tokens below into the body of the Newsletter. Then when our system sends out the Newsletter, the token is replaced with the actual customer data. For instance, let's say you wanted to email your client and include their name in the email so it looks more personalized. You would simply include ###first_name### in the email and our system will replace it with your clients First Name. The master list is provided below for your convenience:

  • ###name_prefix###
  • ###first_name###
  • ###last_name###
  • ###company_name###
  • ###job_title###
  • ###primary_phone###
  • ###primary_email###
  • ###primary_address###
  • ###mobile_phone_number###
  • ###home_phone_number###
  • ###home_fax_number###
  • ###work_phone_number###
  • ###work_fax_number###
  • ###other_phone_number###
  • ###home_email###
  • ###work_email###
  • ###other_email###
  • ###home_address###
  • ###work_address###
  • ###billing_address###
  • ###other_address###
  • ###domains###
  • ###username###
  • ###language_region###
  • ###time_zone###

© 2022 4.0 Help Guide