IV Help Guide

Loading...

Website Menu Widget

Welcome to our tutorial on adding a new menu to your website. Most websites start with the main menu across the top for ease of navigation. However that does not need to be your only menu. Our menu widgets enable you to add menus to specific pages, allowing your customers to browse more pages about a specific topic without cluttering your main menu. Sub menus can can also be useful for putting an expansive amount of menu items into a single menu without completely cluttering a customer's screen. Additionally these tutorials also cover adding and editing menu items to your existing menus which allow you to make changes as needed.

To begin click the arrow next to a topic below and our visual guide will appear. To advance to the next step simply click the next button inside the appropriate box.

  • To learn how to add a new Website Menu Widget, please follow the instructions on the Add a New Widget page

There are three types of Website Menu Widgets. You choose one when initially adding the widget, but you can change it later.

  • The Horizontal Menu displays the menu items on one line. Any submenu items are initially hidden, and appear when their parent menu item is hovered over.
  • The Vertical (Flyout) menu displays the menu items as a vertical list. Any submenu items are initially hidden, and appear when their parent menu item is hovered over.
  • The Vertical (Tree) menu displays the menu items as a vertical list. Any submenu items are displayed after their parent menu item, indented by a small amount.
  • Move your mouse over the Website Menu widget you would like to edit. The menu will highlight in yellow and the Hover Menu will appear.
  • Click Edit
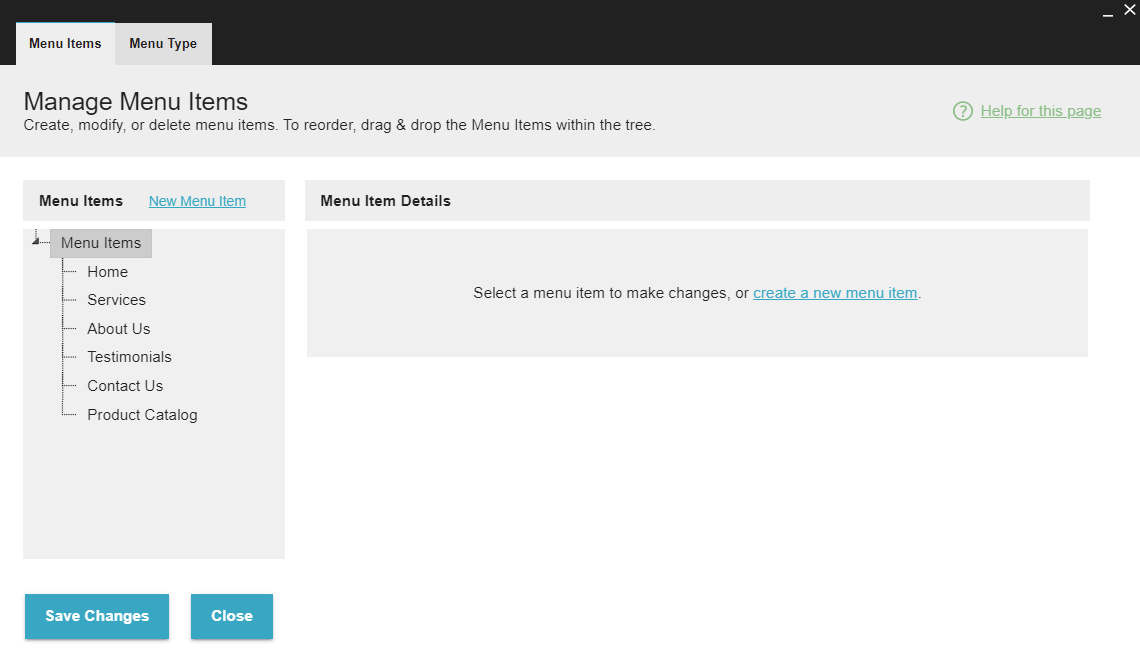
  • The Website Menu widget will open.
  • Click New Menu Item.
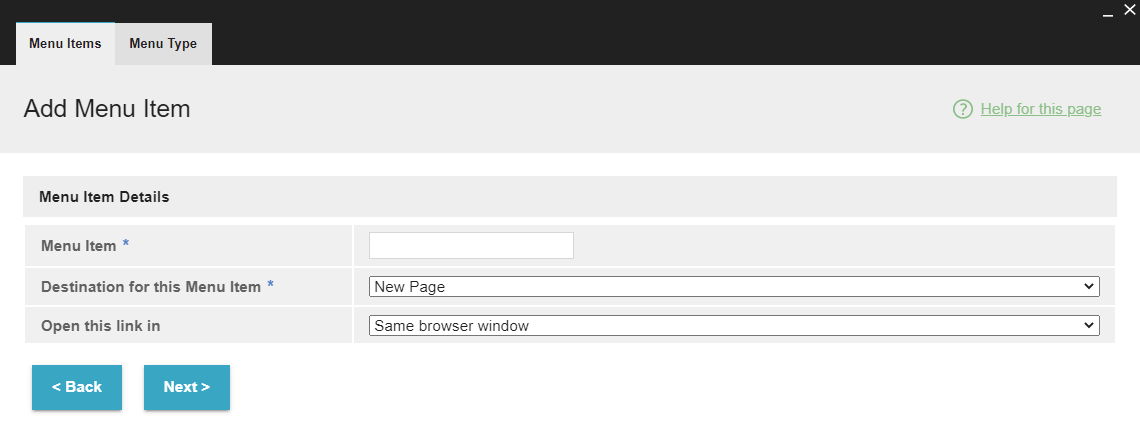
  • Enter the text for the New Menu Item.
  • Choose whether to Open this link in the same window or a new browser window.
  • Choose the type of Destination for this Menu item.
    • New Page - This will create a new page for the link to go to.
    • Existing Page - This will have you choose an existing page from your site for the link to go to.
    • Outside Web Page - This will have you enter a URL of another website for the link to go to.
    • Email Address - This will have you enter an email address for the link to go to.
    • File - This will have you select a file from the File Manager for the link to go to.
    • No Destination - This will have the menu item not be linked.
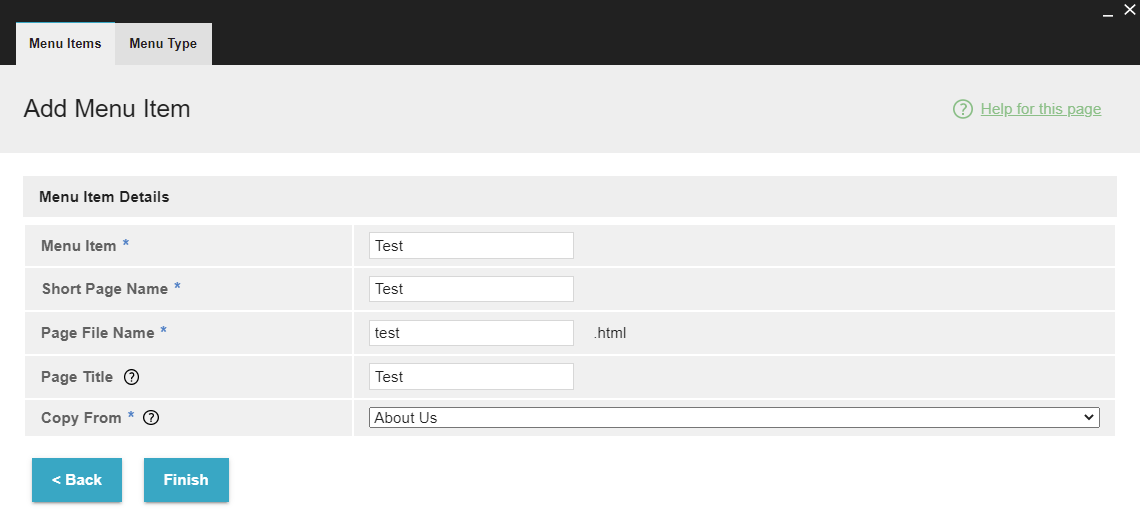
  • Fill out the required information for the type of link you selected, then click Finish.
  • Move your mouse over the Website Menu widget you would like to edit. The menu will highlight in yellow and the Hover Menu will appear.
  • Click Edit
  • The Website Menu widget will open.
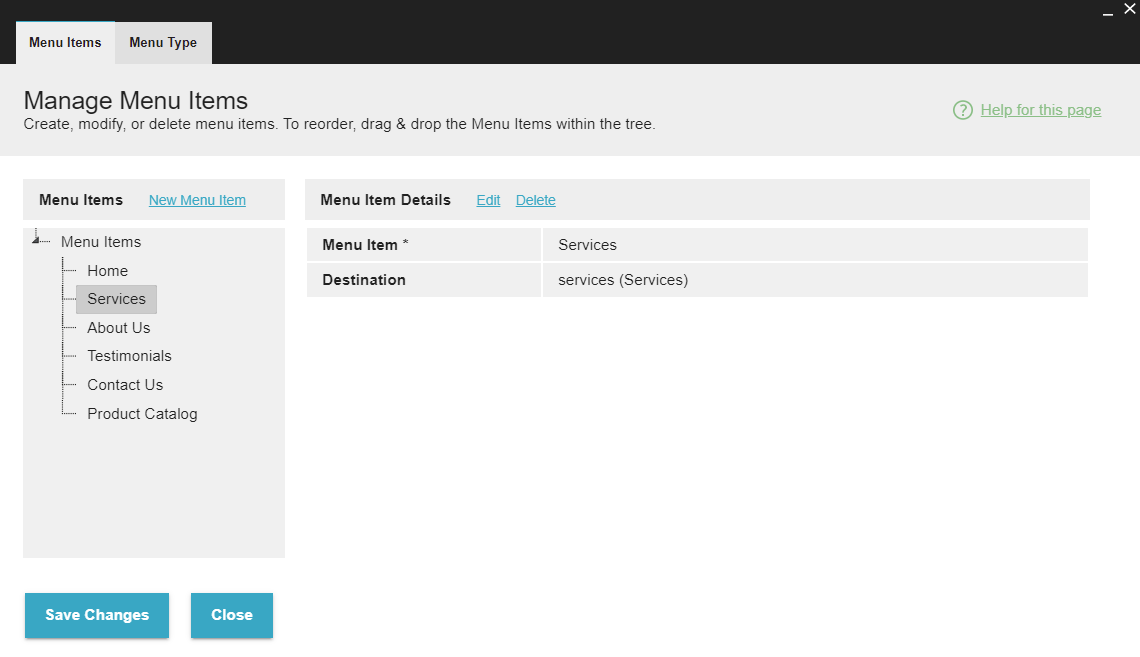
  • Click the menu item you would like to edit to select it.
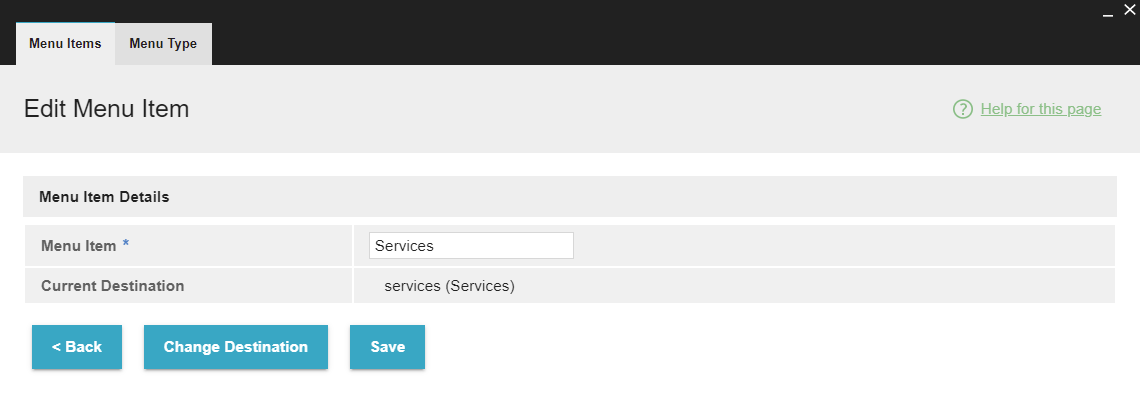
  • Click Edit.
  • You can change the Menu Item text or Change Destination.
  • When you've made your desired changes, click Finish.
  • Move your mouse over the Website Menu widget you would like to edit. The menu will highlight in yellow and the Hover Menu will appear.
  • Click Edit
  • The Website Menu widget will open.
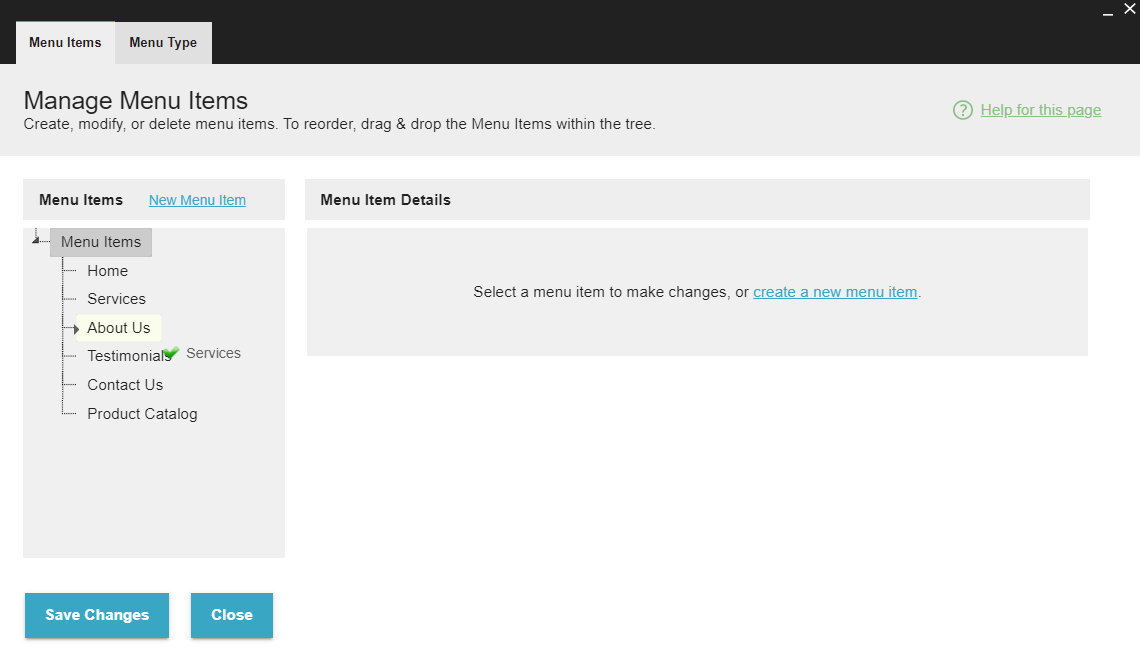
  • Click and hold your mouse on the the menu item you would like to move, then move over the menu item you would like to put it under. When the black arrow appears, release your mouse.
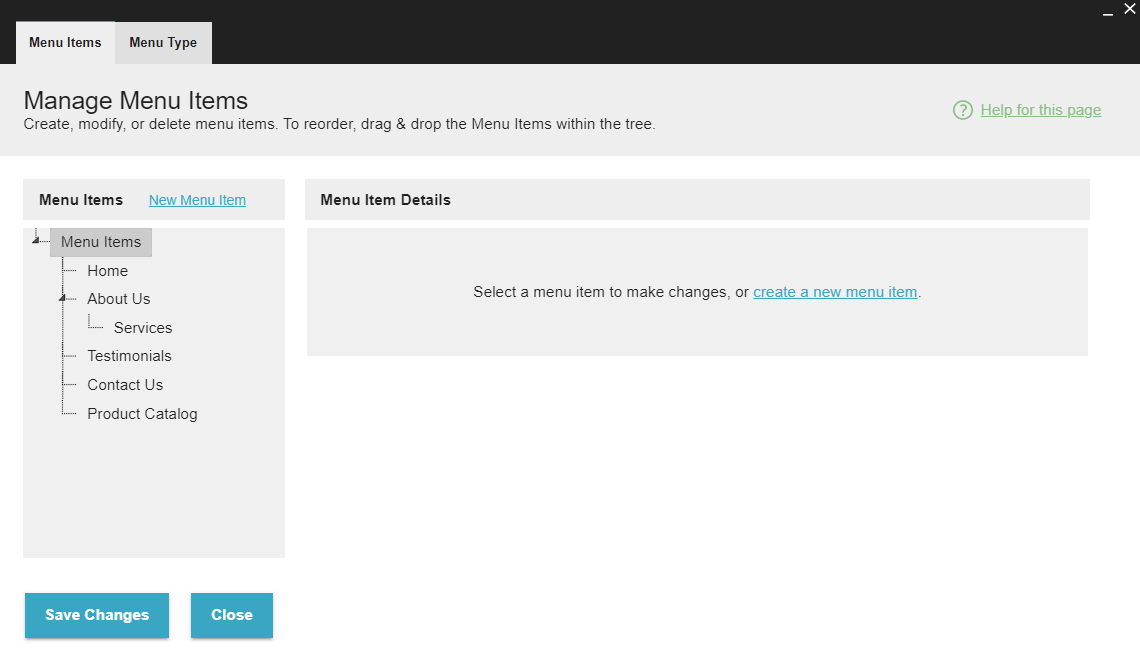
  • The chosen menu item will now appear as a sub-item.
  • When you've made your desired changes, click Save Changes.
  • Menu Display Options can be used on the Main Menu or any Website Menu Widget that is in a Site Area to prevent specific menu items from appearing on specific pages. To begin, move your mouse over the Website Menu widget you would like to edit. The menu will highlight in yellow and the Hover Menu will appear.
  • Click Display Options.
  • Choose the Page you would like to change settings for.
  • Un-check the box for each menu item you do not want to appear on the selected page. Check the box for each menu item you do want to appear.
  • When you've made your desired changes, click Save Changes.
  • Language Groups allow you to assign a language to a page and to individual menu items. To begin, go to Tools > Web Site Settings and set Enable Language Groups to Yes.
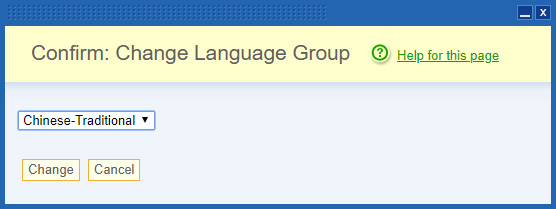
  • On the Page List, check the box next to the page(s) you want to set a new language for, and click Language Group.
  • Choose the language you would like to assign the pages to, and click Change.
  • All menu items associated with a specific Language Group will automatically show for pages matching the same Language Group while other menu items will be hidden. You can also change the group for individual pages under that page's Page Settings, or while adding a new page.

© 2022 4.0 Help Guide