IV Help Guide

Configuration
Welcome to our tutorial on adjusting the Configuration of your eCommerce system. Configuration is where the most advanced settings of our system are contained. Here you can setup and configure payment methods, shipping methods, and other settings that are required for your eCommerce to work.
To begin click the arrow next to a topic below and our visual guide will appear. To advance to the next step simply click the next button inside the appropriate box.
- From the System menu, choose Configuration.
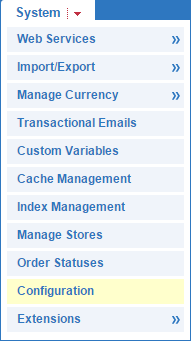
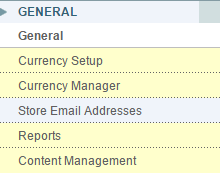
- Click Store Email Addresses.
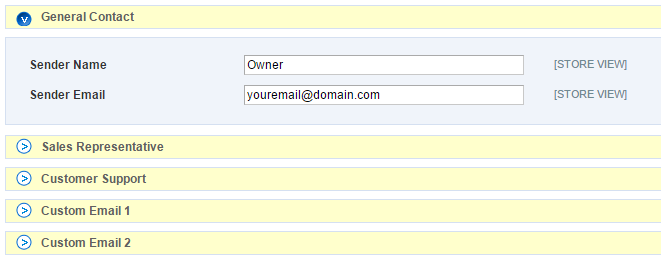
- For each section, click the > arrow to expand it, then enter a Sender Name and Sender Email.
- When you've filled out each section, click Save Config.

- From the System menu, choose Configuration.

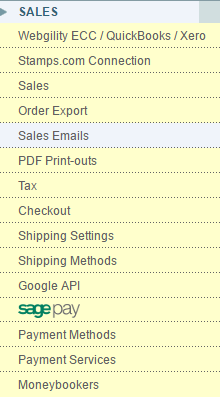
- Click Sales Emails.
- For each section, click the > arrow to expand it, then enter your email under Send Email Copy To.
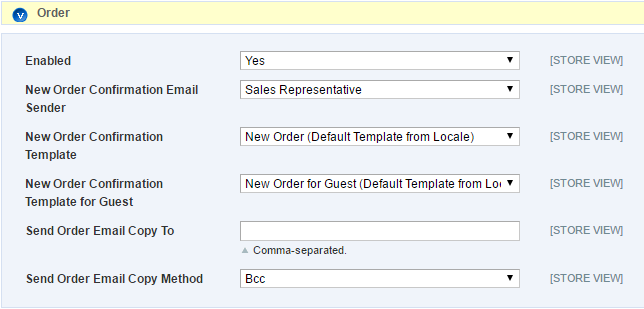
- When you've filled out each section, click Save Config.

- From the System menu, choose Configuration.

- Click Currency Setup.
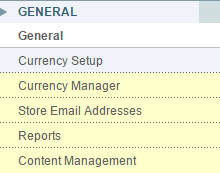
- For Currency Options, click the > arrow to expand it.

- Choose your Base Currency and Default Display Currency. For Allowed Currencies, you can select any number of currencies by holding the Ctrl button while you click on them.
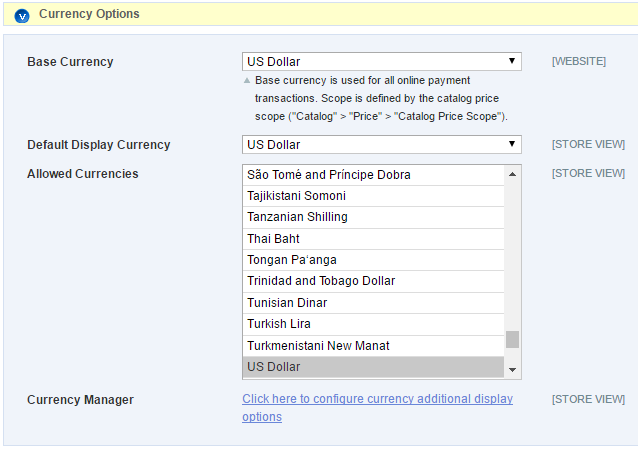
- When you've made your selections, click Save Config.

- From the System menu, choose Configuration.

- Click Shipping Settings.
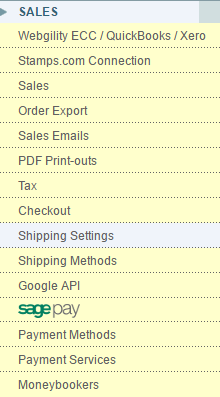
- For Origin, click the > arrow to expand it.
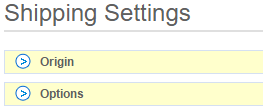
- Choose your Country and State/Region/County, then enter your ZIP/Postal Code. The other fields are not needed, but you can fill them out if you like.
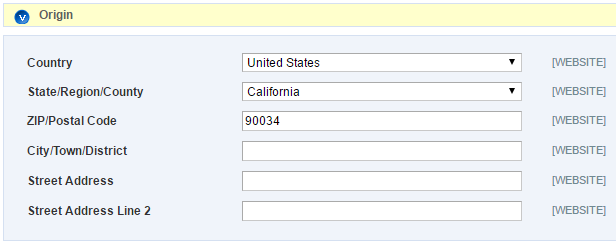
- When you've finished, click Save Config.

- From the System menu, choose Configuration.

- Click Shipping Methods.
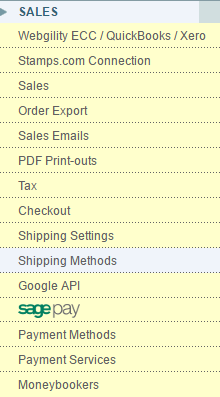
- For Flat Rate, click the > arrow to expand it.
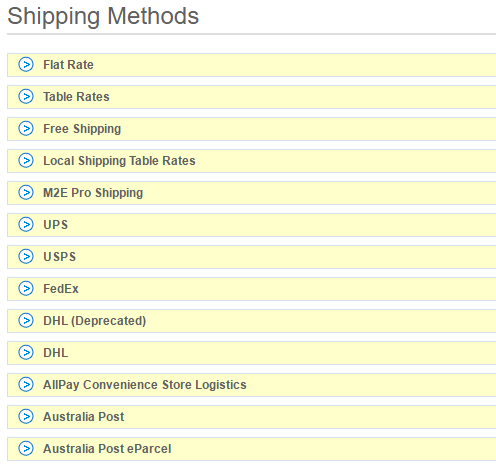
- SetEnabled to Yes.

- Enter a Title.

- Enter a Method Name.

- For Type, choose whether you want the fee to be charged Per Item or Per Order.

- Enter a Price.

- For Calculate Handling Fee, choose whether you want the fee to be a Fixed fee or a Percent.

- Enter a Handling Fee.

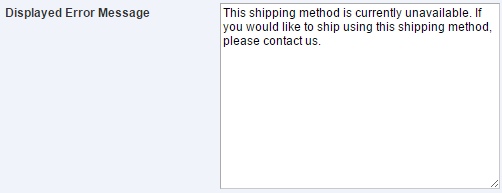
- Enter a Displayed Error Message, which will show if the method is unavailable.
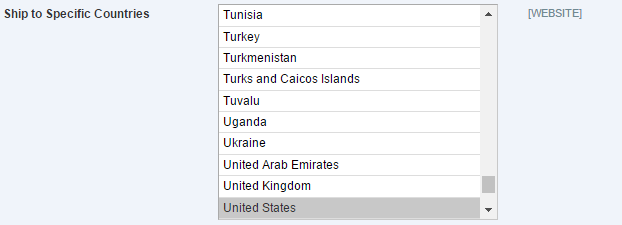
- For Ship to Applicable Countries, choose Specific Countries or All Allowed Countries.

- If you chose Specific Countries, choose the countries you would like to offer shipping to.
- When you've finished, click Save Config.

- From the System menu, choose Configuration.

- Click Shipping Methods.

- For Table Rate, click the > arrow to expand it.

- SetEnabled to Yes.

- Enter a Title.

- Enter a Method Name.

- Choose Yes or No for Include Virtual Products in Price Calculation.

- For Calculate Handling Fee, choose whether you want the fee to be a Fixed fee or a Percent.

- Enter a Handling Fee.

- Enter a Displayed Error Message, which will show if the method is unavailable.

- For Ship to Applicable Countries, choose Specific Countries or All Allowed Countries.

- If you chose Specific Countries, choose the countries you would like to offer shipping to.

- For Condition, choose whether you want to use Weight vs. Destination, Price vs. Destination, or # of Items vs. Destination.

- Click Save Config.

- Download the appropriate spreadsheet from the files below. You can open and edit the file in any spreadsheet editing software. When filling out the Country and State/Province fields, use the two-letter abbreviations.
- In the upper left corner, click the box for Current Configuration Scope and select Main Website.

- Next to Import, click Choose File to browse your computer and find the spreadsheet file you filled out.

- When you've finished, click Save Config.

- From the System menu, choose Configuration.

- Click Shipping Methods.

- For UPS, click the > arrow to expand it.

- SetEnabled for Checkout to Yes.

- Enter a Title.

- For Packages Request Type, select Divide to equal weight (one request) or Use origin weight (few requests).

- Select the type of Container you will be using.

- For Destination Type, choose Residential or Commercial.

- Select the type of Weight Unit your products use.

- Select the type of Pickup Method, which is how you will give the packages to UPS.

- Enter a Maximum Package Weight and Minimum Package Weight.

- Enter a Handling Fee.

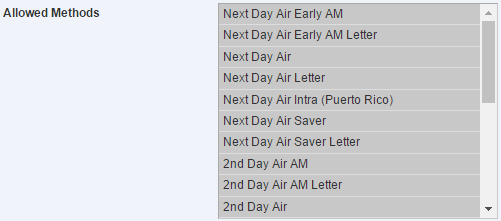
- Choose the Allowed Methods you will offer, using the Ctrl and/or Shift keys on your keyboard to select multiple methods.
- If you will offer free shipping for orders over a certain amount, set Free Shipping with Minimum Order Amount to Enabled, choose a Free Method, and enter a Minimum Order Amount for Free Shipping.

- Enter a Displayed Error Message, which will show if the method is unavailable.

- For Ship to Applicable Countries, choose Specific Countries or All Allowed Countries.

- If you chose Specific Countries, choose the countries you would like to offer shipping to.

- When you've finished, click Save Config.

- First, you will need to register for an account at https://www.usps.com/business/web-tools-apis/welcome.htm. They will provide you with information you will need to enter during this setup process.
- From the System menu, choose Configuration.

- Click Shipping Methods.

- For USPS, click the > arrow to expand it.

- SetEnabled for Checkout to Yes.

- Enter a Title.

- Enter the User ID and Password that USPS provided you.

- The Mode should be left as Development until you run some test orders, then change it to Live.

- For Packages Request Type, select Divide to equal weight (one request) or Use origin weight (few requests).

- Select the type of Container you will be using.

- Enter a Maximum Package Weight and Minimum Package Weight.

- Enter a Handling Fee.

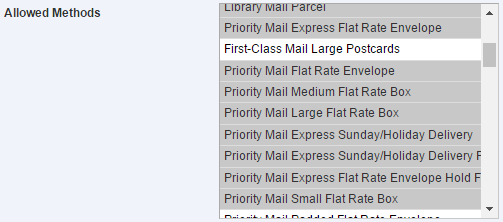
- Choose the Allowed Methods you will offer, using the Ctrl and/or Shift keys on your keyboard to select multiple methods.
- If you will offer free shipping for orders over a certain amount, set Free Shipping with Minimum Order Amount to Enabled, choose a Free Method, and enter a Minimum Order Amount for Free Shipping.

- Enter a Displayed Error Message, which will show if the method is unavailable.

- For Ship to Applicable Countries, choose Specific Countries or All Allowed Countries.

- If you chose Specific Countries, choose the countries you would like to offer shipping to.

- When you've finished, click Save Config.

- First, you will need to register for an account at http://www.fedex.com/us/oadr/. They will provide you with information you will need to enter during this setup process.
- From the System menu, choose Configuration.

- Click Shipping Methods.

- For FedEx, click the > arrow to expand it.

- SetEnabled for Checkout to Yes.

- Enter a Title.

- Enter the Account ID, Meter Number, Key, and Password that FedEx provided you.

- For Packages Request Type, select Divide to equal weight (one request) or Use origin weight (few requests).

- Select the type of Packaging you will be using.

- Select the type of Dropoff, which is how you will give the packages to FedEx.

- Select the type of Weight Unit your products use.

- Enter a Handling Fee.

- Choose the Allowed Methods you will offer, using the Ctrl and/or Shift keys on your keyboard to select multiple methods.

- If you will offer free shipping for orders over a certain amount, set Free Shipping with Minimum Order Amount to Enabled, choose a Free Method, and enter a Minimum Order Amount for Free Shipping.

- Enter a Displayed Error Message, which will show if the method is unavailable.

- For Ship to Applicable Countries, choose Specific Countries or All Allowed Countries.

- If you chose Specific Countries, choose the countries you would like to offer shipping to.

- When you've finished, click Save Config.

- In order to process credit card transactions online, you will need to have an account through a merchant provider. Once you've signed up, they will provide you with account credentials that will need to be entered into your eCommerce admin. We have built-in support for the following:
- From the System menu, choose Configuration.

- Click Payment Methods.
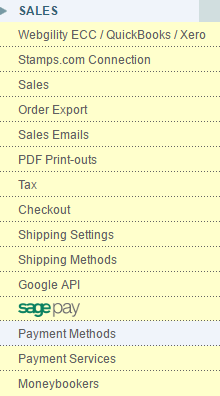
- Find the merchant you've selected in the list, then click its > arrow to expand it.
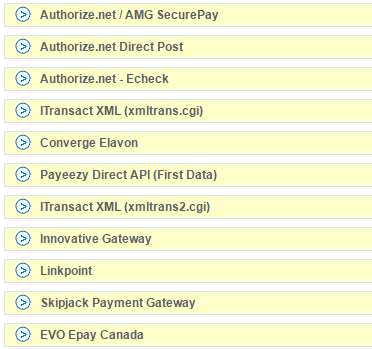
- SetEnabled to Yes.

- Enter a Title.

- Enter the account credentials provided to you by the merchant

- When you've finished, click Save Config.

- In order to process Paypal transactions online, you will need to have a Paypal Business account. You can see a comparison between account types here. Once you've signed up, they will provide you with account credentials that will need to be entered into your eCommerce admin.
- From the System menu, choose Configuration.

- Click Payment Methods.

- Find PayPal All-in-One Payment Solutions in the list, then click its > arrow to expand it.
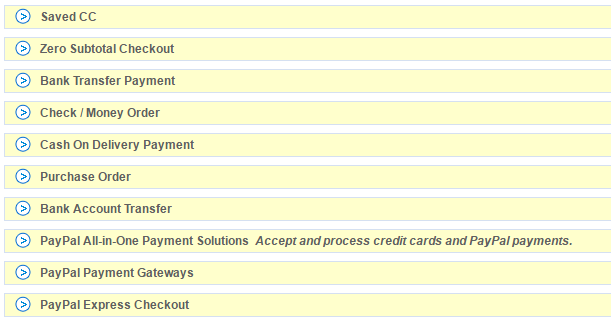
- Click Configure next to the type of Paypal Business account you signed up for.

- Enter the account credentials provided to you by Paypal and set Enable this Solution to Yes.
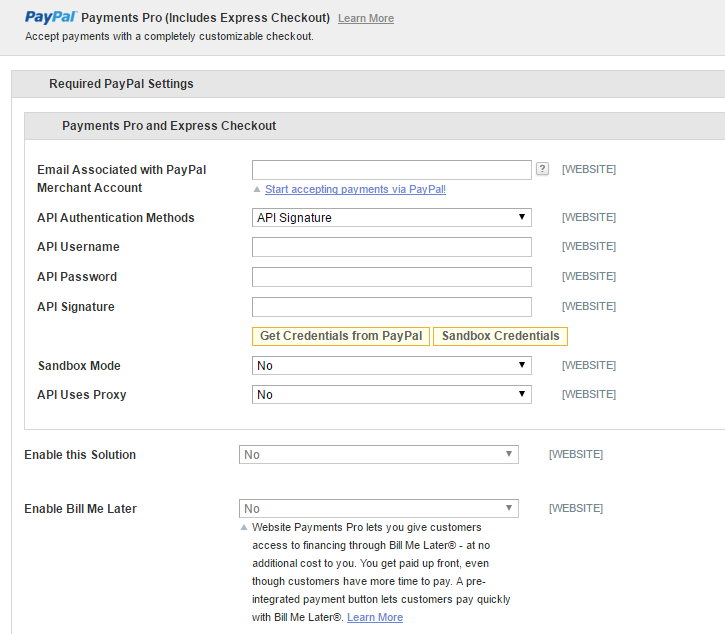
- When you've finished, click Save Config.
