IV Help Guide

Properties
Welcome to our tutorial on managing the properties section of your website. Properties allow you to fine tune the various areas of your website with an impressive degree to precision using our editor. By selecting individual areas, or elements within an area you can quickly and easily make changes to your website. From adjusting text sizes across site areas, to assigning a background image to a single area, this section provides you the tools to fine tune all areas of your website’s appearance.To begin click the arrow next to a topic below and our visual guide will appear. To advance to the next step simply click the next button inside the appropriate box.
- Open the Properties menu by clicking the "__" button in the bottom right corner.

- Find the area you would like to edit properties for in the list. Areas will highlight as you hover over them, allowing you to find the correct area. Click the Area's name to select it.
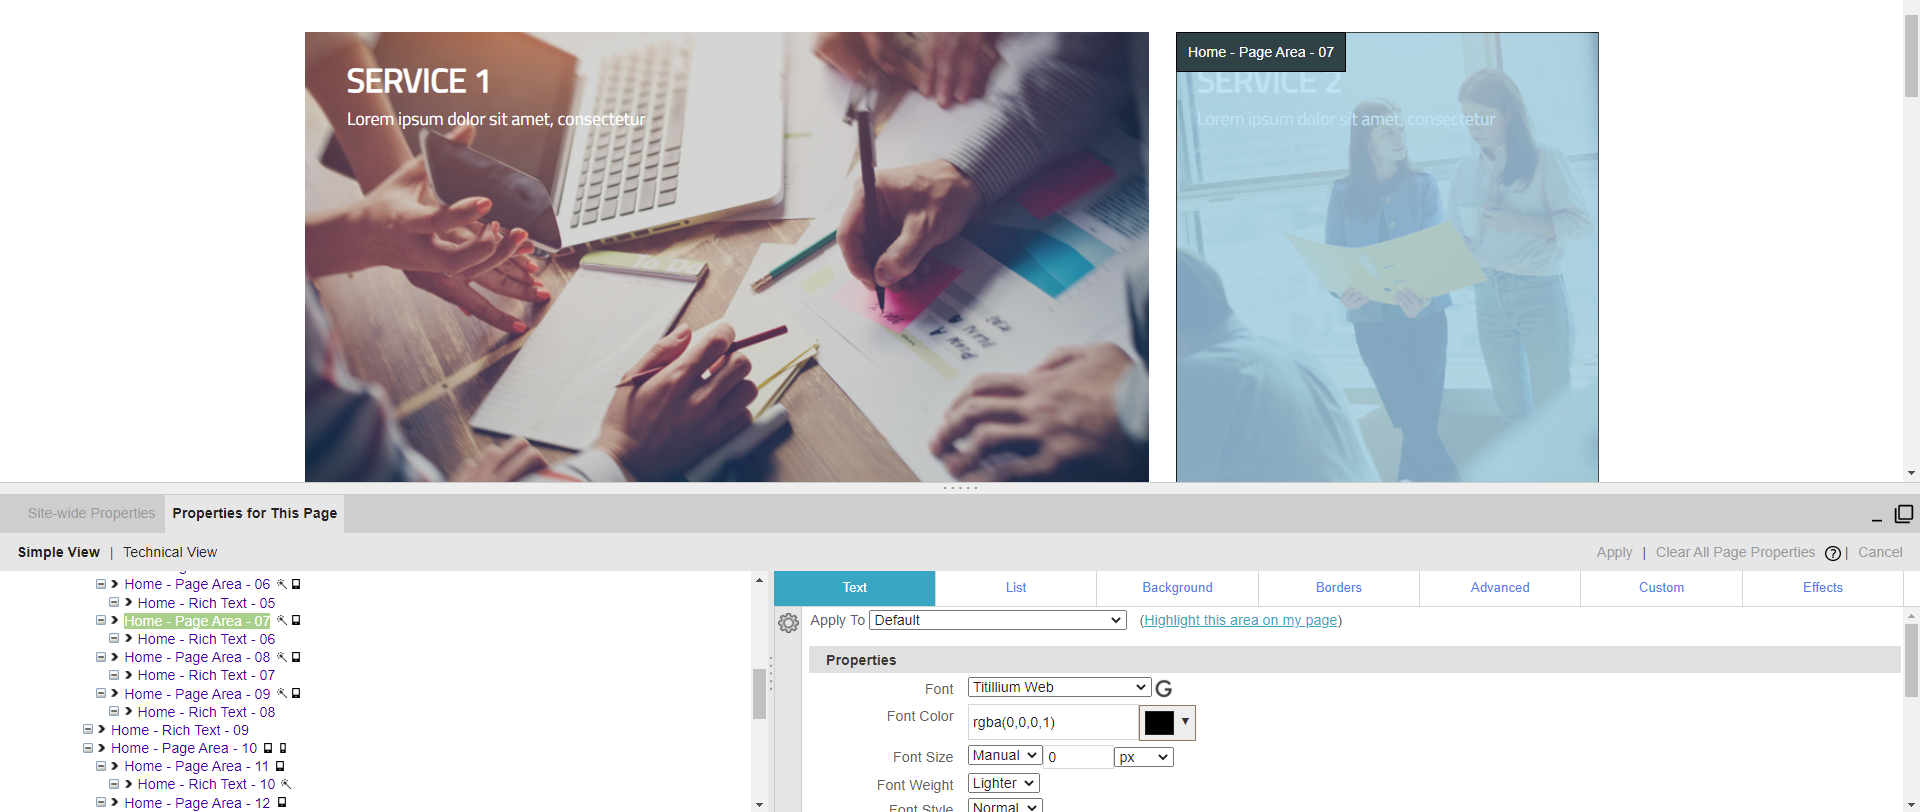
- Move your mouse over the Area you would like to edit. A Site Area will highlight in gray, a Page Area will highlight in Blue. The Hover Menu will appear.
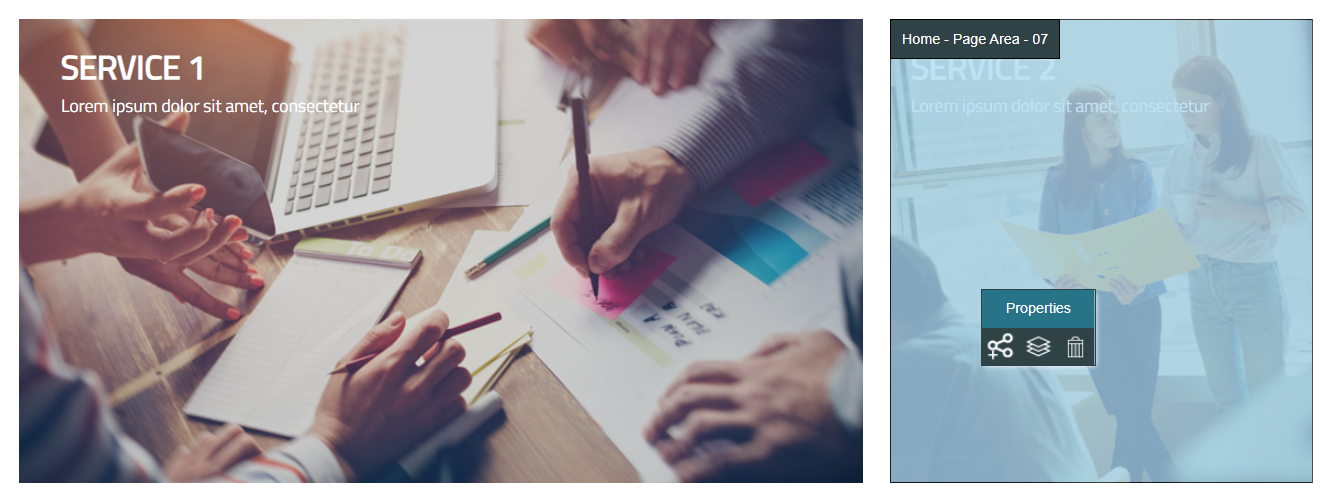
- Click Properties

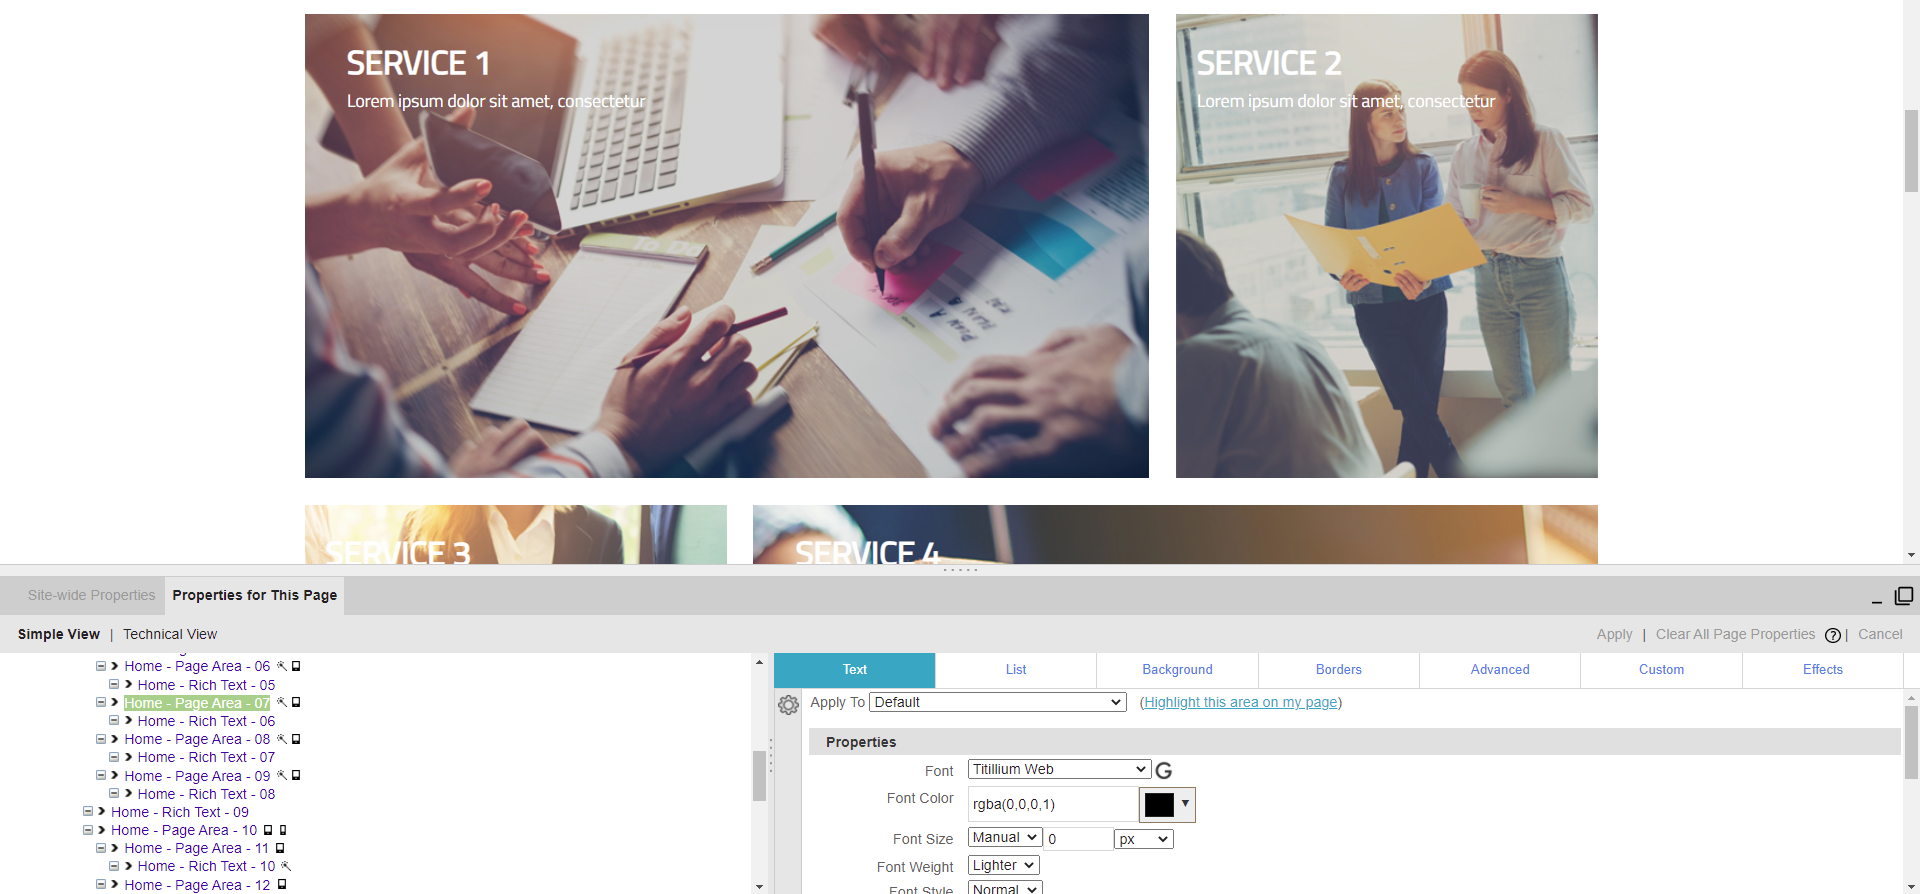
- The Properties section will open.
- Move your mouse over a widget in the Area you would like to edit. The text will highlight in orange and the Hover Menu will appear.
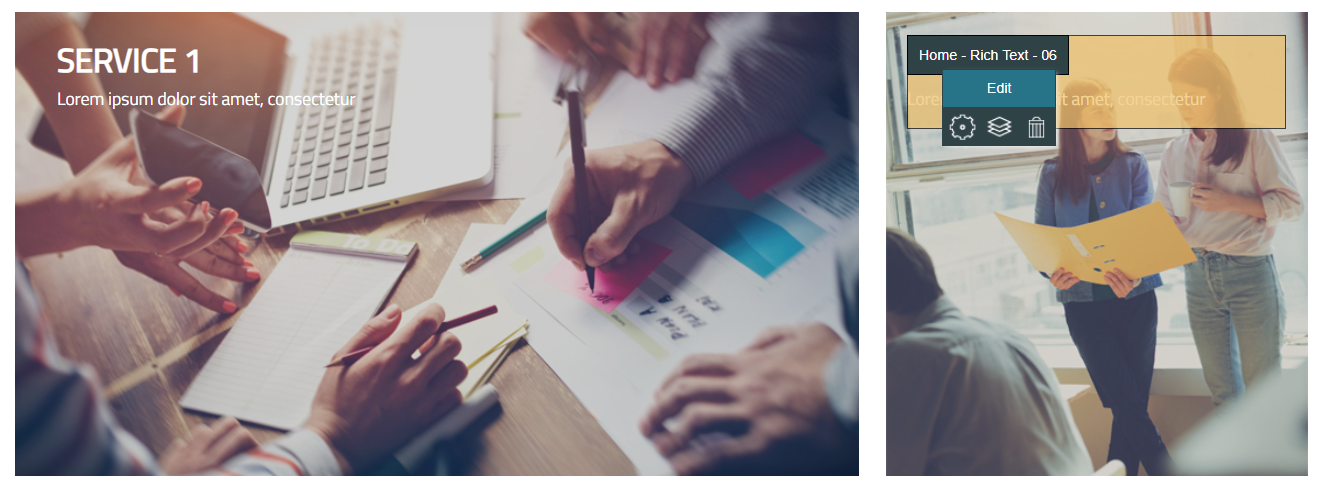
- Click Layer Menu.
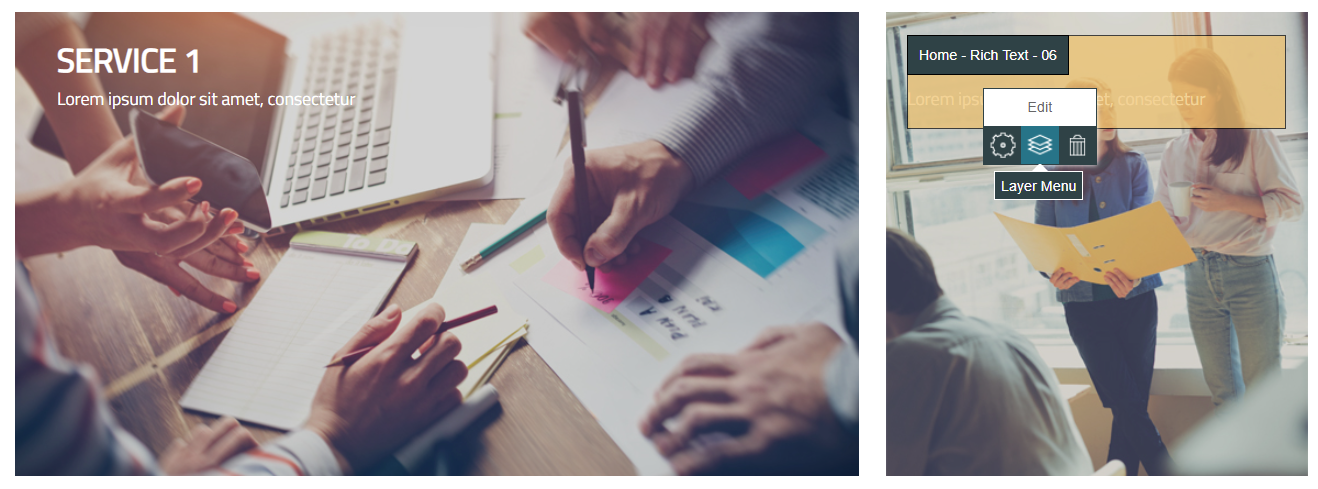
- Hover over the Page or Site Area you want to add the new widget to. The area will highlight to show which one you are selecting. Once you've found the area you want, click it.
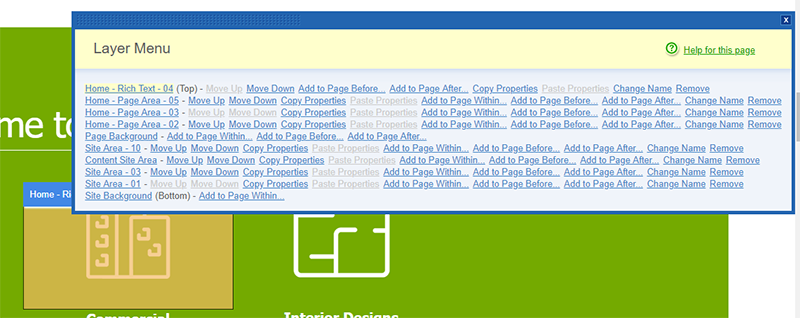
- The Properties section will open.

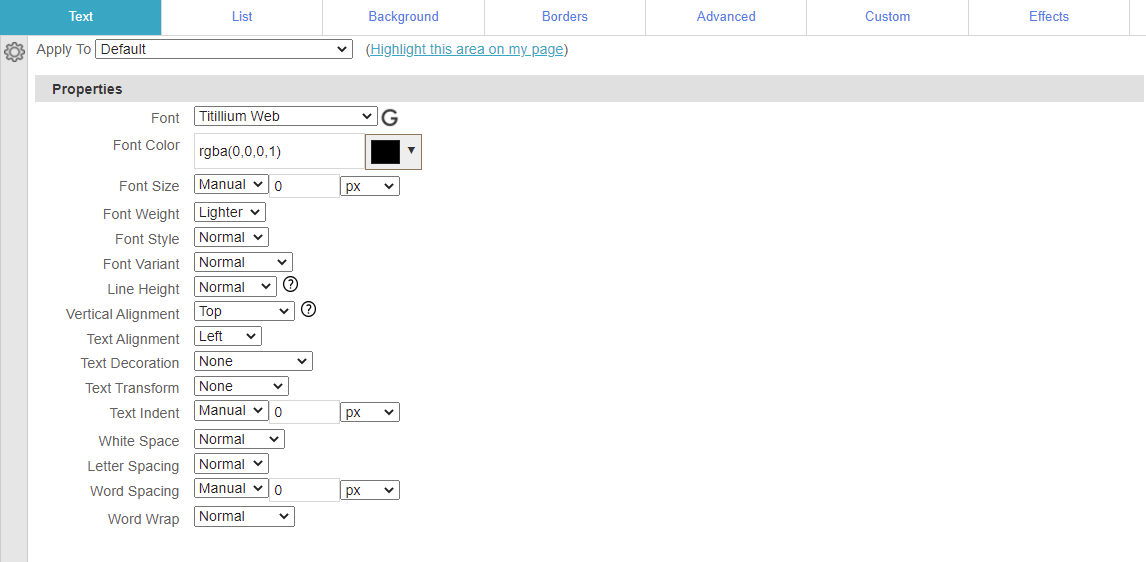
Text properties affect the size, color, and formatting of text.- Font - Selects the font for the text.
- Font Color - Selects the color for the text.
- Font Size - Selects the size for the text.
- Font Weight - Determines whether the text is Bold or not.
- Font Style - Determines whether the text is Italic or not.
- Font Variant - Determines whether the text is displayed normally or in Small Caps
- Line Height - Determines the amount of space between lines of text.
- Vertical Alignment - Determines how text pieces (or elements set to Display Inline-Block under the Advanced Tab) of different sizes lines up vertically with each other.
- Text Alignment - Sets the alignment of the text to Left, Center, Right, or Justify.
- Text Decoration - Sets the text to have an Underline, Overline, or Strike Through.
- Text Transform - Sets the Text to have the first letter of each word Capitilized, or be entirely in Upper Case or Lower Case.
- Text Indent - Indents the text by the amount entered. You can use negative values to move the text in the opposite direction.
- White Space - Determines how the text will wrap when it reaches the end of a line. Preserved will only wrap on line breaks you've entered, No Wrap won't wrap at all.
- Letter Spacing - Determines the amount of space between letters.
- Word Spacing - Determines the amount of space between words.
- Word Wrap - Determines whether text will wrap in the middle of a word or wrap the entire word to the next line.

List properties affect the style and position of bulleted and numbered lists.- Bullet Style - Determines how the bullet or number for each item will appear.
- Bullet Image - Allows you to choose an image to be used in place of the Bullet Style.
- List Position - Determines if the list-item markers should appear inside or outside the content flow.

Background properties allow you to set a background and/or color for the selected area.- Background Color - Sets the background color.
- Background Image - Allows you to choose an image to be used as the background. The image will cover any background color you've chosen.
- Image Position (Vertical) - Sets the vertical position of the image.
- Image Position (Horizontal) - Sets the horizontal position of the image.
- Image Size - Adjusts the size of the image. Contain will shrink the image so that it fits entirely in the selected area. Cover will expand the image to completely fill the selected area.
- Image Repeat - Sets whether or not the image will repeat to fill the selected area.
- Image Behavior - Sets whether or not the image will scroll as the visitor moves down the page.
- Box Shadow - Lets you create a shadow around the outside of the selected area, to give the page an impression of depth.
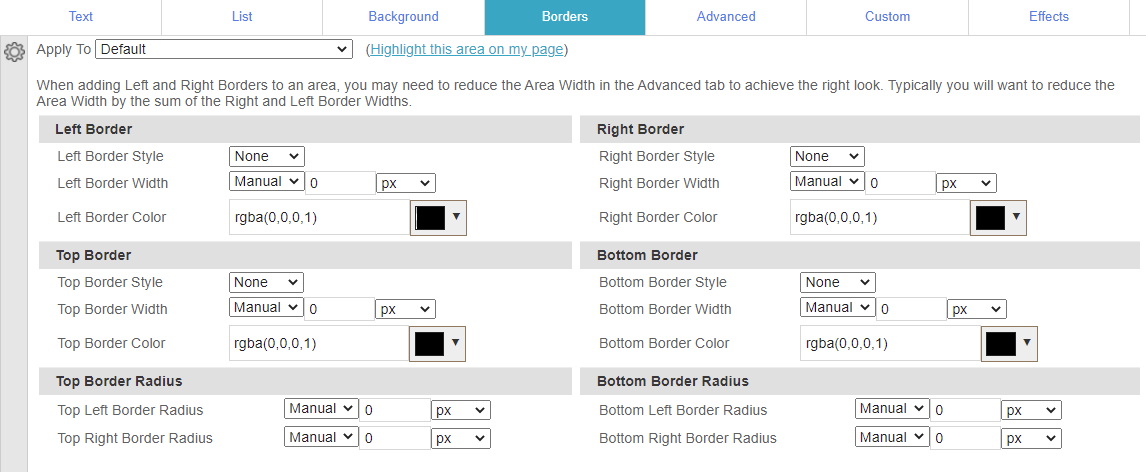
Border properties allow you to set a border around each side (left/right/top/bottom) of the selected area. The following options are available for each side:- Border Style - Sets the type of border (ie solid/dashed/dotted/etc).
- Border Width - Sets the thickness of the border.
- Border Color - Sets the color of the border.
- Border Radius - Allows you to set the area to have rounded corners. The higher the value, the more rounded the corner. Border Radius can be used even if the selected area does not have a border.
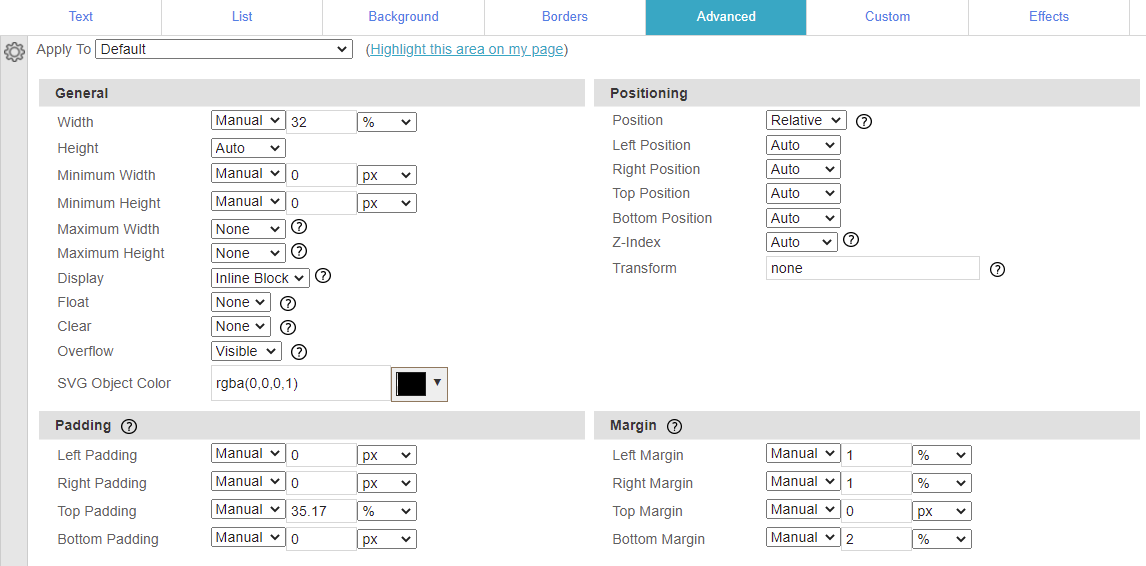
Advanced properties allow you to control the size, spacing, and position of the selected area.- Width - Sets the width of the selected area.
- Height - Sets the height of the selected area.
- Minimum Width - Sets the minimum width of the area, if you have not set a fixed width.
- Minimum Height - Sets the minimum height of the area, if you have not set a fixed height.
- Maximum Width - Sets the maximum width of the area, if you have not set a fixed width.
- Maximum Height - Sets the maximum height of the area, if you have not set a fixed height.
- Display - Determines whether and how an area is displayed.
- Float - Sets the area to be moved to the left or right side of the containing area. The next area will be moved to the same line as the floated one.
- Clear - Sets the area to wrap to the next line if the preceding area(s) are Floated in the direction you choose.
- Overflow - Sets how the area will behave if its content would exceed the set width and/or height.
- Left / Right / Top / Bottom Padding - Sets space between the edges of the selected area and its contents.
- Left / Right / Top / Bottom Margin - Sets space between the selected area and surrounding areas.
- Position
- Static - Ignores any settings in the Positioning section
- Relative - Uses the Left / Right / Top / Bottom Position values to shift the area's position. Surrounding areas will not be affected by this shift.
- Absolute - Uses the Left / Right / Top / Bottom Position values as coordinates to set the area's position on the page. If a containing area is set to have Relative position, the position will be determined within that containing area instead.
- Fixed - Uses the Left / Right / Top / Bottom Position values as coordinates to set the area's position in the browser window. The area will not move as the visitor scrolls.
- Z-Index - Determines the stack order of Relative/Absolute/Fixed Position areas that overlap, with higher values being higher in the stack.

Custom properties allow you to enter your own CSS values that are not otherwise offered. You can use W3 Schools as a reference.- Click Add to create a new entry.
- Enter the Property Name and Property Value.
- Click Commit.