IV Help Guide

Form
Welcome to our tutorial on adding forms to your website. Forms are a multi purpose tool that allow your customers to contact you with a question, to subscribe to a newsletter, or to work with our Calendar Manager to create appointments and reservations. If you are looking to receive information from your clients through the website then our form widget is the best way to do it. To begin click the arrow next to a topic below and our visual guide will appear. To advance to the next step simply click the next button inside the appropriate box.
There are two types of forms: forms found in the Form Library folder and Custom Forms. The Form Library forms, Appointment and Reservation, interact with the Calendar Manager and have several pre-built fields that are required for use. The Custom Forms allow you to build your own form from scratch with any fields that you need. All forms have the ability to interact with the Contact Manager.
- Move your mouse over the Form widget you would like to edit. The widget will highlight in orange and the Hover Menu will appear.

- Click Edit.
- The Edit Form window will open.

- Choose the type of field you would like to add, then click Add.
- Customize the new field, then click Save Field.

- Repeat the previous two steps until you have created all of the fields you need, then click Save.

Custom fields give you the choice of which Field Type to use. You can also enter a Field Label, Field Width, Default Value and Help Text. The following Field Types are available.- Text Box - A box to enter one line/phrase of text.
- Paragraph Box - A box to enter multiple lines of text.
- Number - A text box that only allows numbers.
- Date - A mini-calendar to select a date.
- Date & Time - A mini-calendar to select a date and time.
- Radio Button - Lets you create multiple options to select from (it looks like the Yes/No boxes below).
- Checkboxes - Lets you create multiple checkboxes to select from as checkboxes.
- Drop-down - Lets you create multiple options to select from in a drop-down box (like the field type box itself).
- Country - Creates an auto-generated drop-down box that includes all countries.
- State/Province - Creates an auto-generated drop-down box with states or provinces based on a Country field you've created.

Contact fields send their information to the Contact Manager, creating a new Contact based on the information entered.
Upload File fields let the visitor upload a file from their computer and lets you download it from the Form Responses section.
Text lets you add text to the form to convey information to the visitor.
Divider lets you add a dividing line to the form.
Section Heading lets you add a heading to the form.

Form Settings .- Form Name - The name of the form for the Form Responses section.
- Send Form Responses To - The email address(es) that the form sends to when submitted.
- Send Email Template - Lets you choose an Email Template to send as an auto response to the person submitting the form.
- Confirmation - Controls what happens for the visitor after the form is submitted.

Field Options let you modify the appearance of the form field labels.
Form Display Options lets you control the appearance of the form fields and buttons.
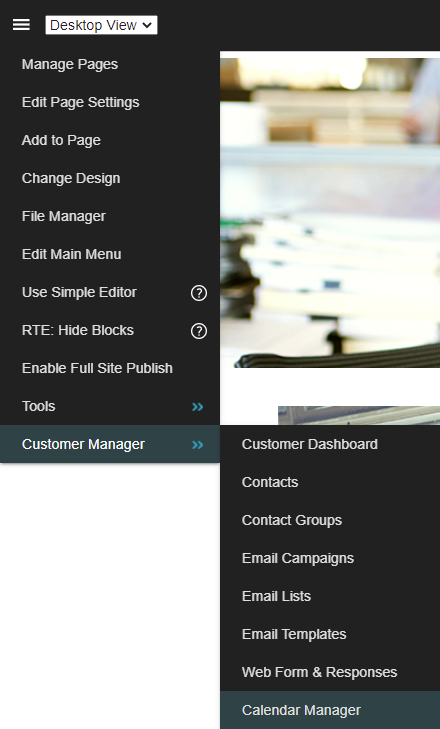
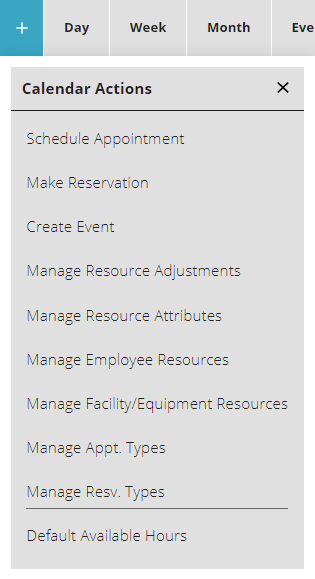
- First, you'll create a Resource Attribute, which is the type of employee this appointment will be with (such as a Dentist or Doctor). To begin, choose Calendar Manager from the Customer Manager menu.
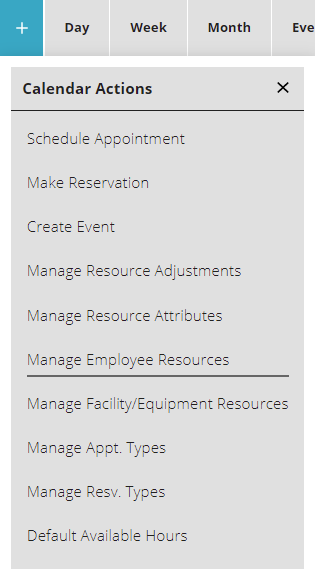
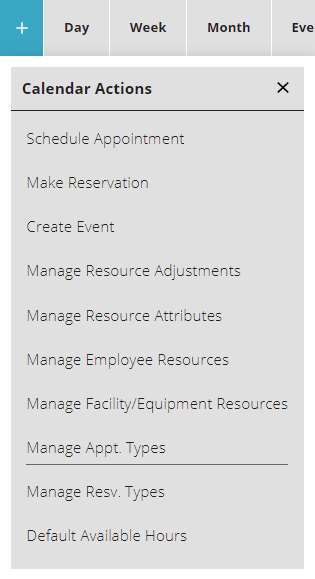
- Click the + button and choose Manage Resource Attributes.

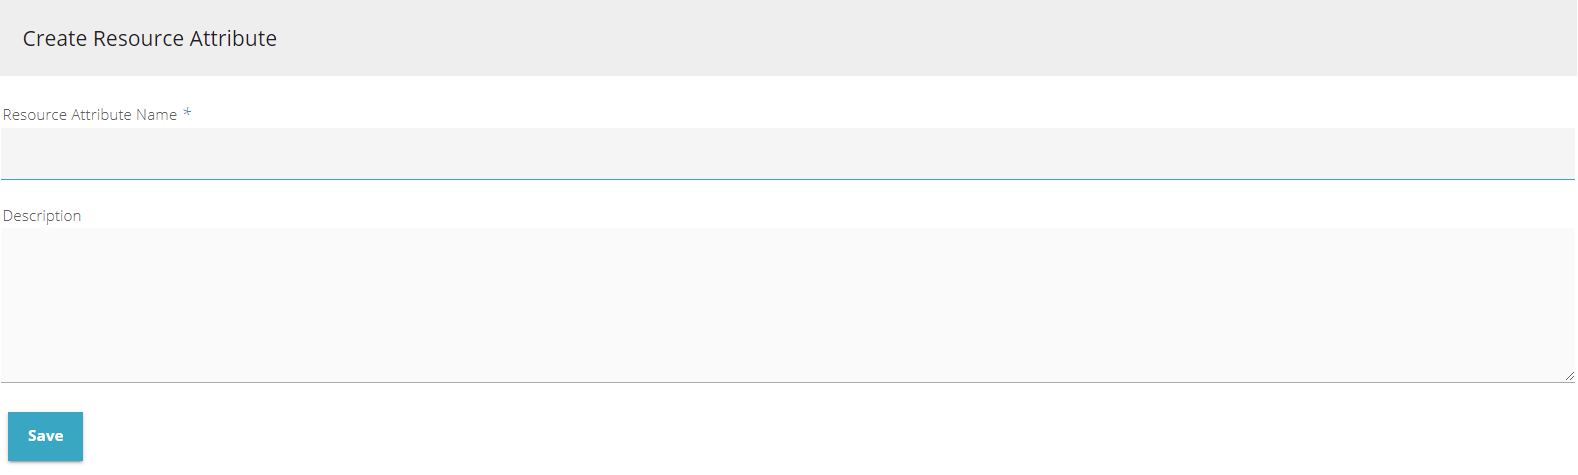
- Click New Resource Attribute.

- Enter a Resource Attribute Name, then click Save.
- Now you'll create a contact to use for the appointments. First, click the + button and choose Manage Employee Resources.
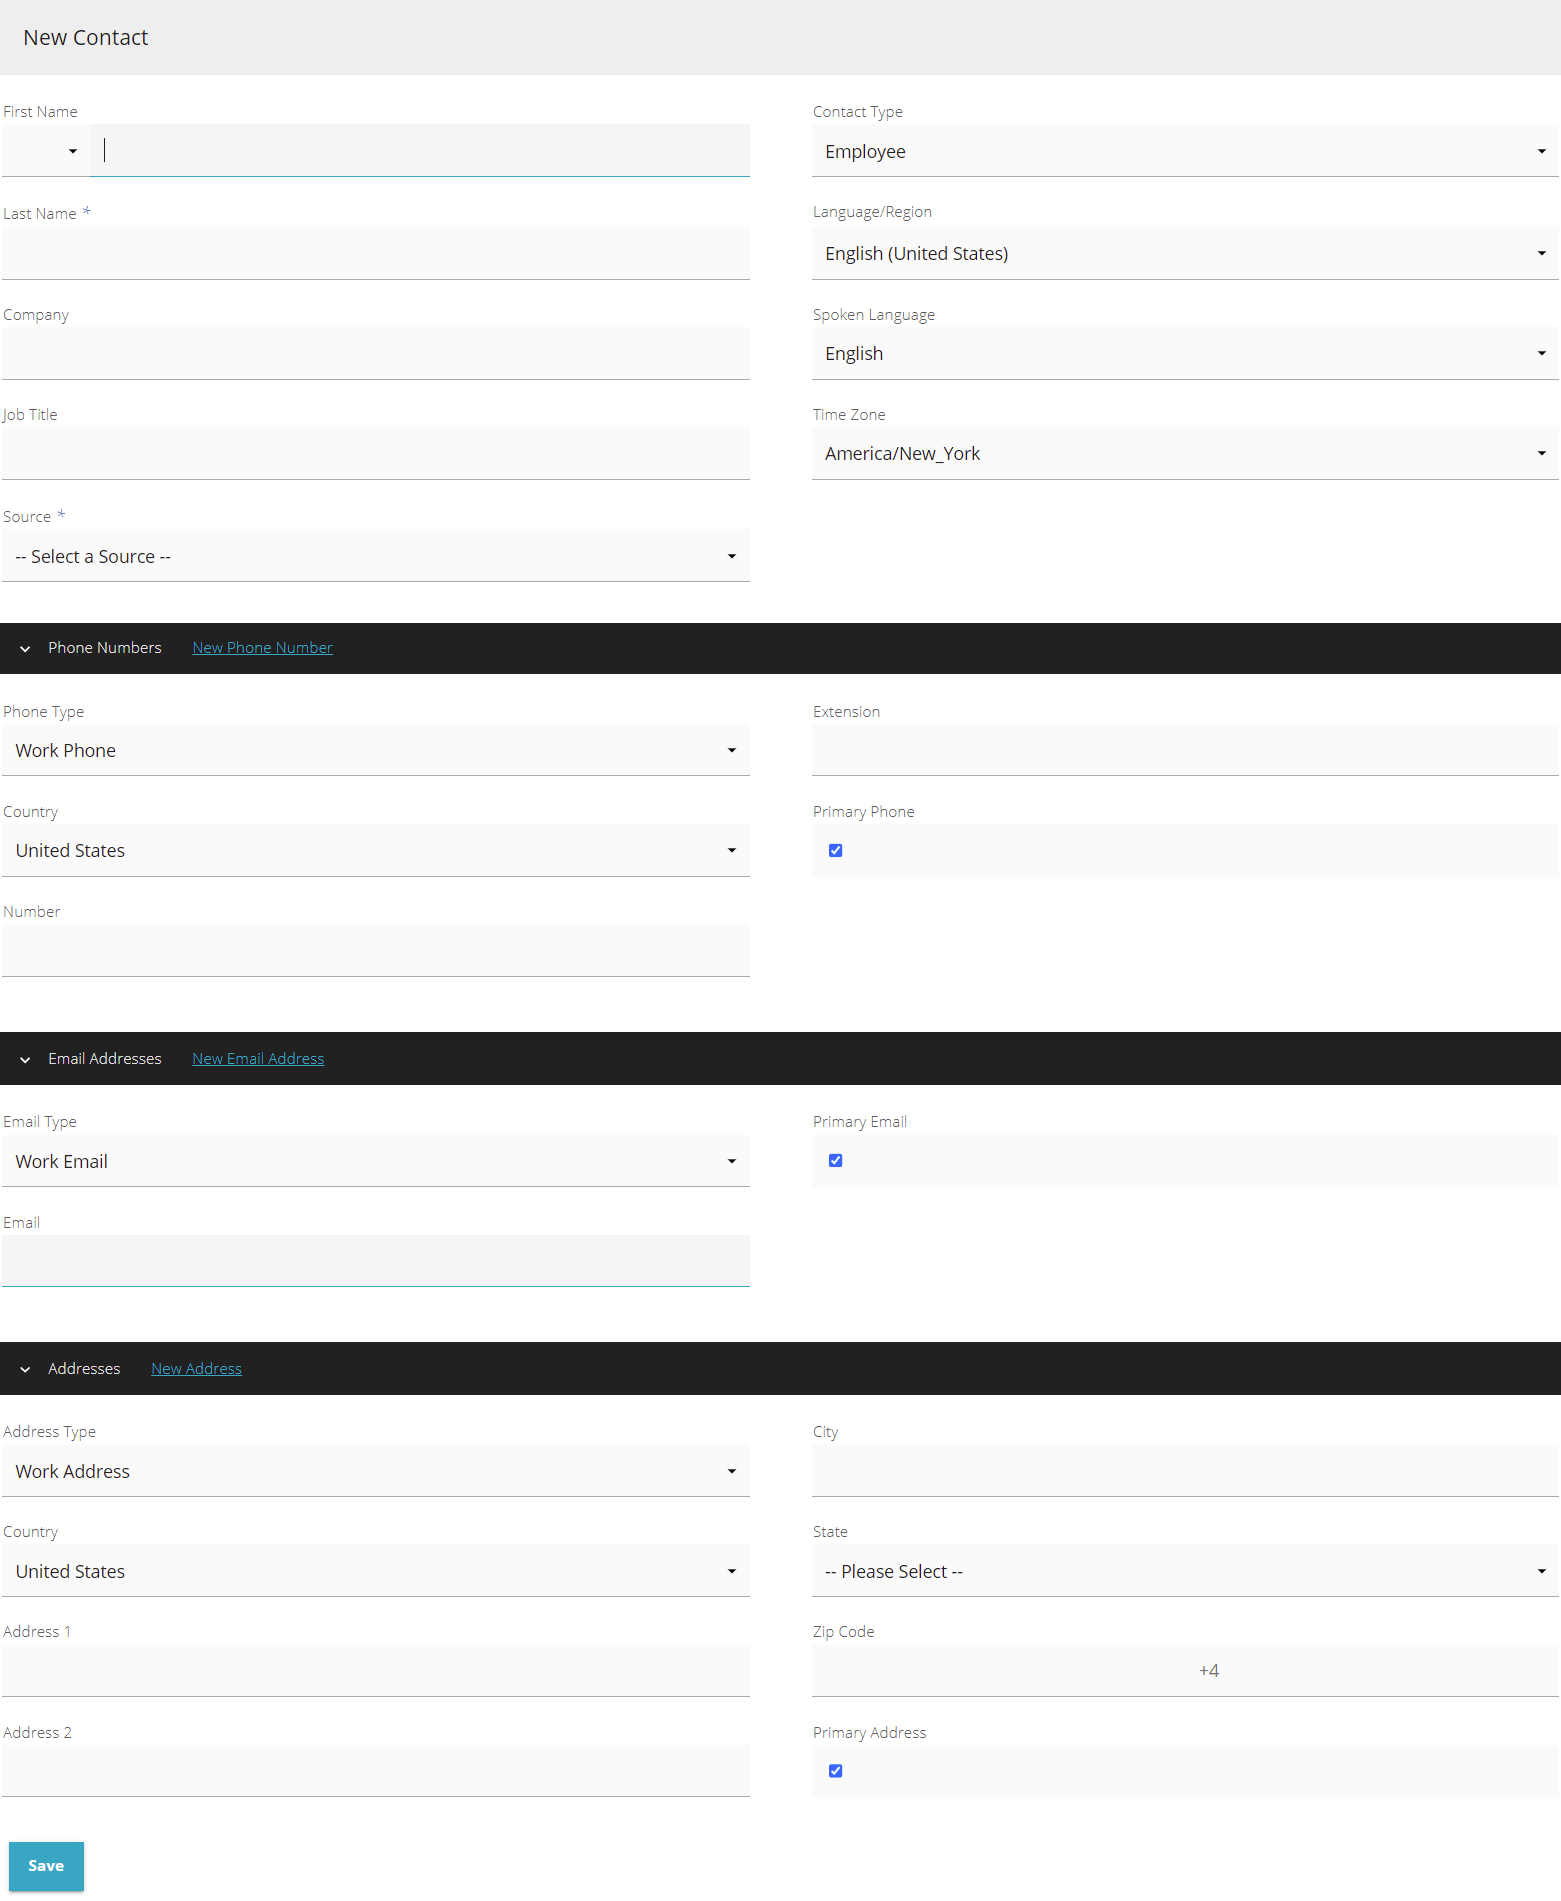
- Click New Contact and fill out the information for the employee.
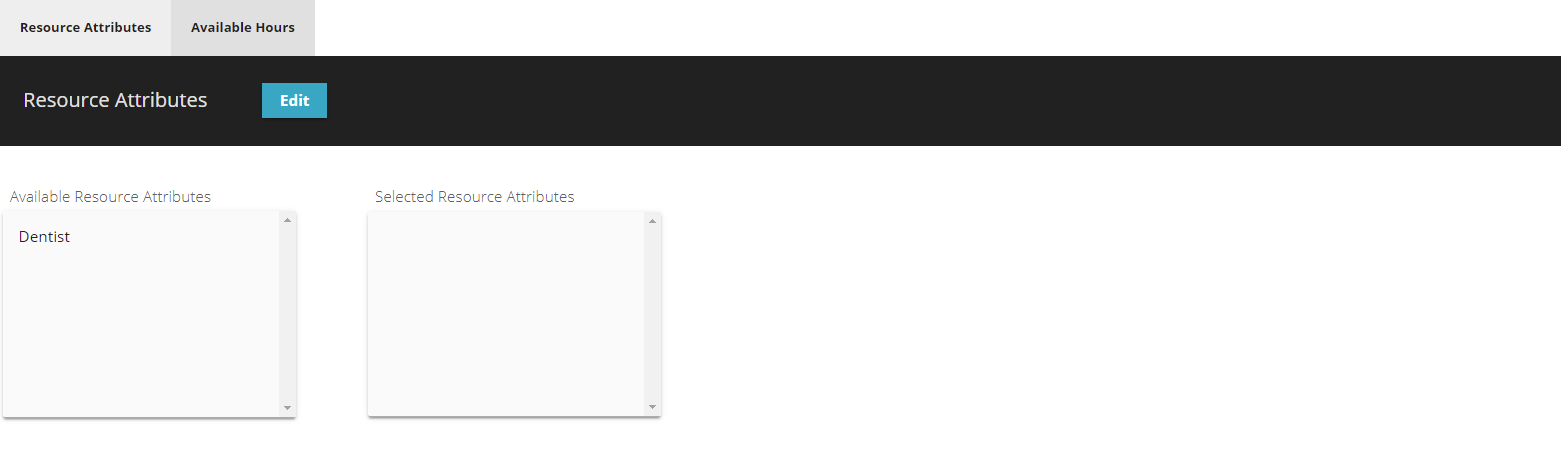
- At the bottom of the new contact window, click Resource Attributes and then Edit
- Click the Available Resource Attributes you want for this employee, then click Add >
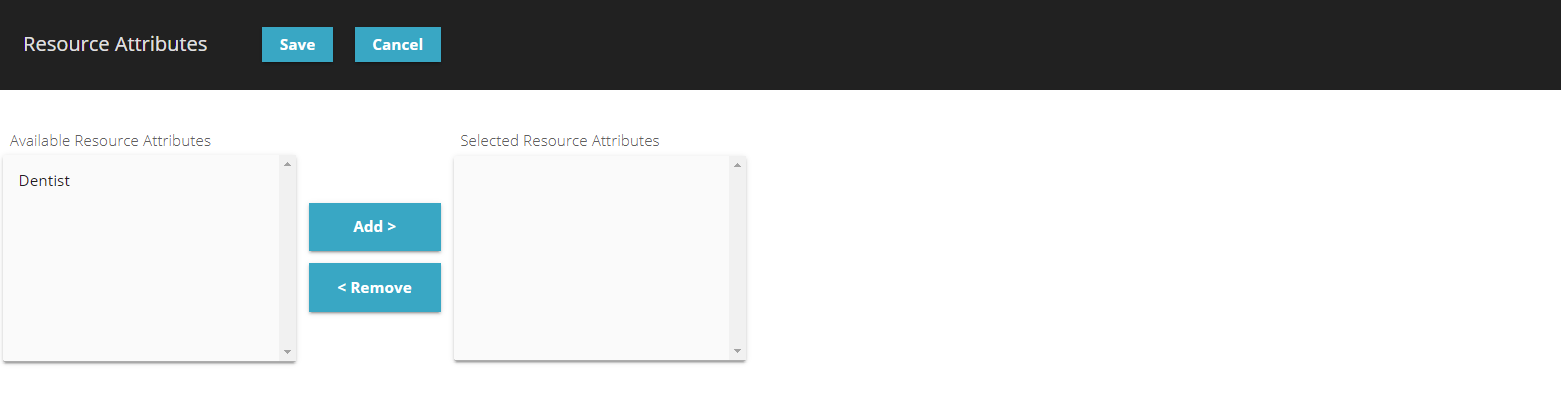
- Click Save.

- Click Available Hours, then click Edit
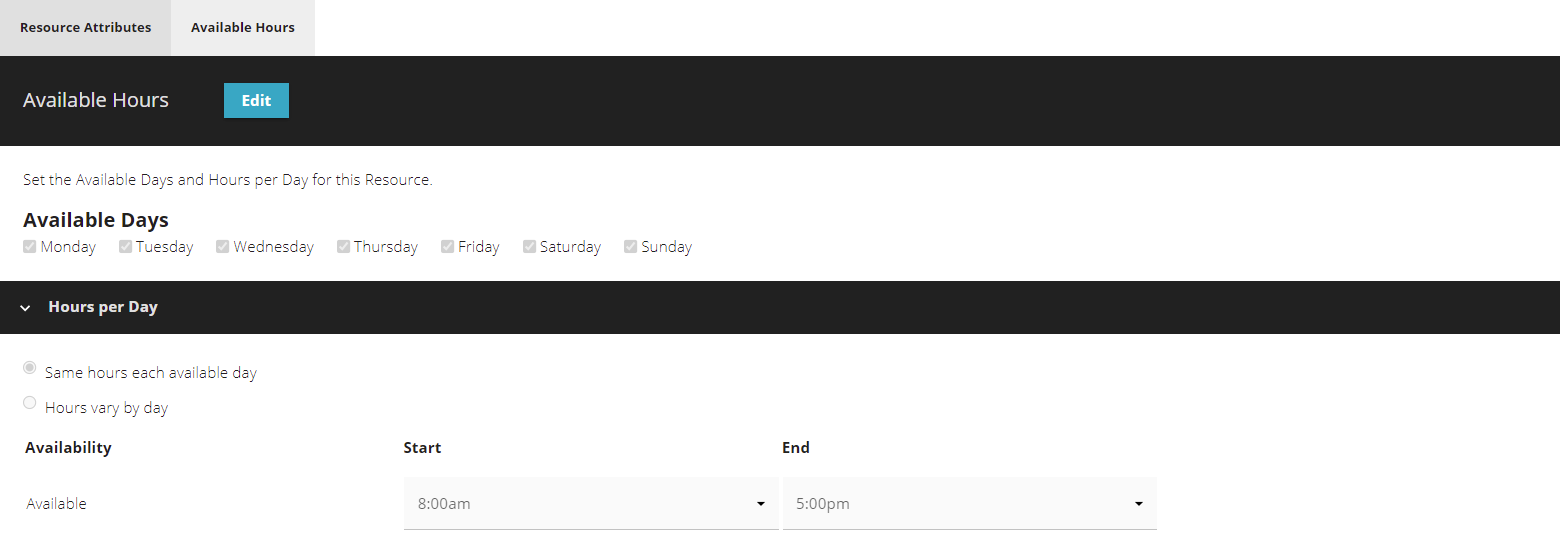
- Choose the Available Days and Hours per Day that this employee will be available.
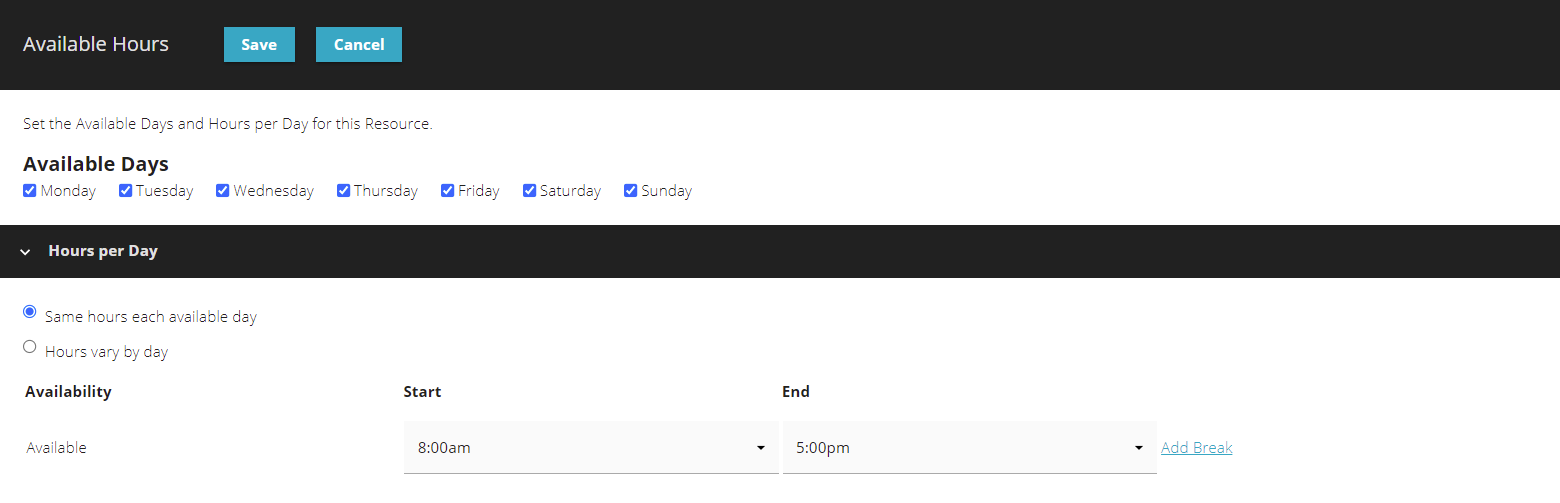
- Click Save.
- Now you'll create an Appointment Type. Click the + button and choose Manage Appt. Types.
- Click New Appt. Type.

- Enter an Appointment Type Name.

- Choose an Appointment Type Duration.

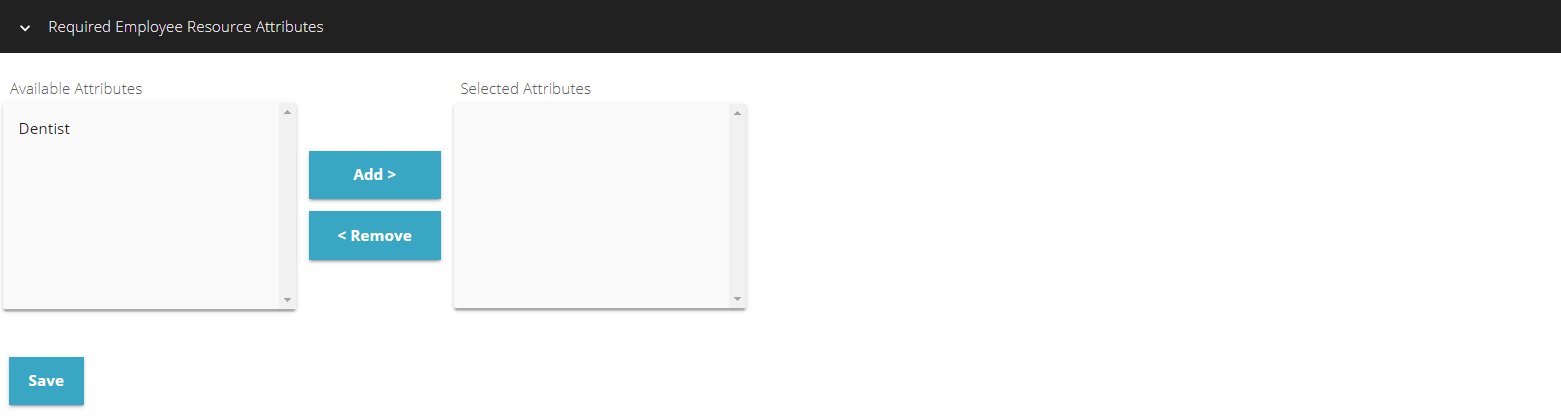
- Click the Required Employee Resource Attributes you want for this appointment type, then click Add >
- Click Save.
- To finish, you'll add an appointment form widget. To learn how to add a new Form Widget, please follow the instructions on the Add a New Widget page
- First, you'll create a Resource Attribute, which is the type of reservation this will be. To begin, choose Calendar Manager from the Customer Manager menu.
- Click the + button and choose Manage Resource Attributes.

- Click New Resource Attribute.
- Enter a Resource Attribute Name, then click Save.
- Now you'll create a Facility or Equipment to use for the appointments. First, click the + button and choose Manage Facility/Equipment Resources.

- Click New Facility/Equipment Resource.

- Enter a Resource Name, a Max Capacity, and a Min Capacity.
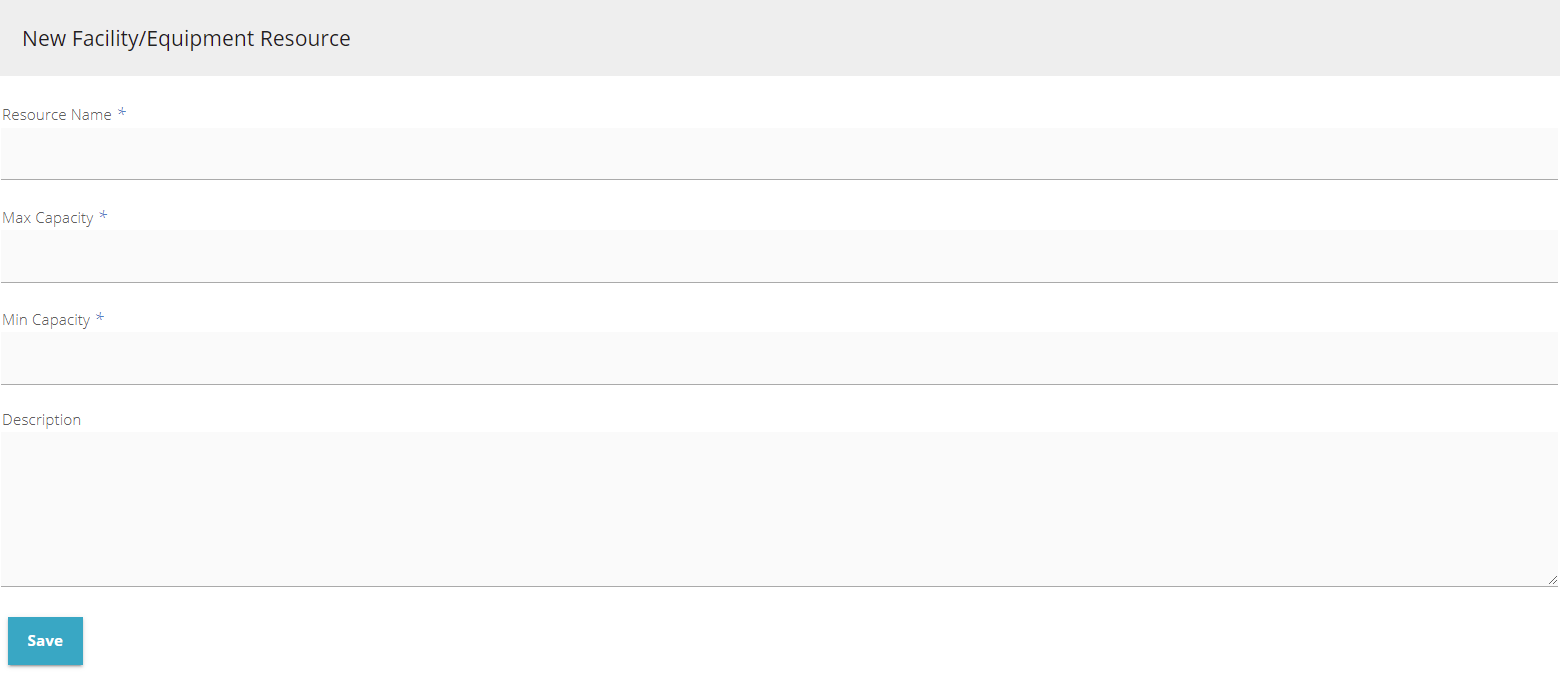
- Click Save.

- Click Resource Attributes and then Edit
- Click Available Hours, then click Edit
- Choose the Available Days and Hours per Day that this employee will be available.
- Click Save.
- Now you'll create an Reservation Type. Click the + button and choose Resv. Types.
- Click New Resv. Type.

- Enter an Reservation Type Name.

- Choose an Reservation Type Duration.

- Click the Required Employee Resource Attributes you want for this reservation type, then click Add >
- Click Save.
- To finish, you'll add an reservation form widget. To learn how to add a new Form Widget, please follow the instructions on the Add a New Widget page
© 2022 4.0 Help Guide