IV Help Guide

Loading...

Site Areas and Page Areas

Welcome to our tutorial on managing the site wide, and page specific areas of your website. This visual guide will show you how to add or adjust Site Areas and Page Areas. Remember Site Areas affect every page on your website, while Page Areas are specific just to the page you are currently working on. To begin click the arrow next to a topic below and our visual guide will appear. To advance to the next step simply click the next button inside the appropriate box.

  • To learn how to add a new Site Area or Page Area, please follow the instructions on the Add a New Widget page. Site Areas can only be added to other Site Areas or the Site Background. Page Areas can only be added to other Page Areas or the Page Background
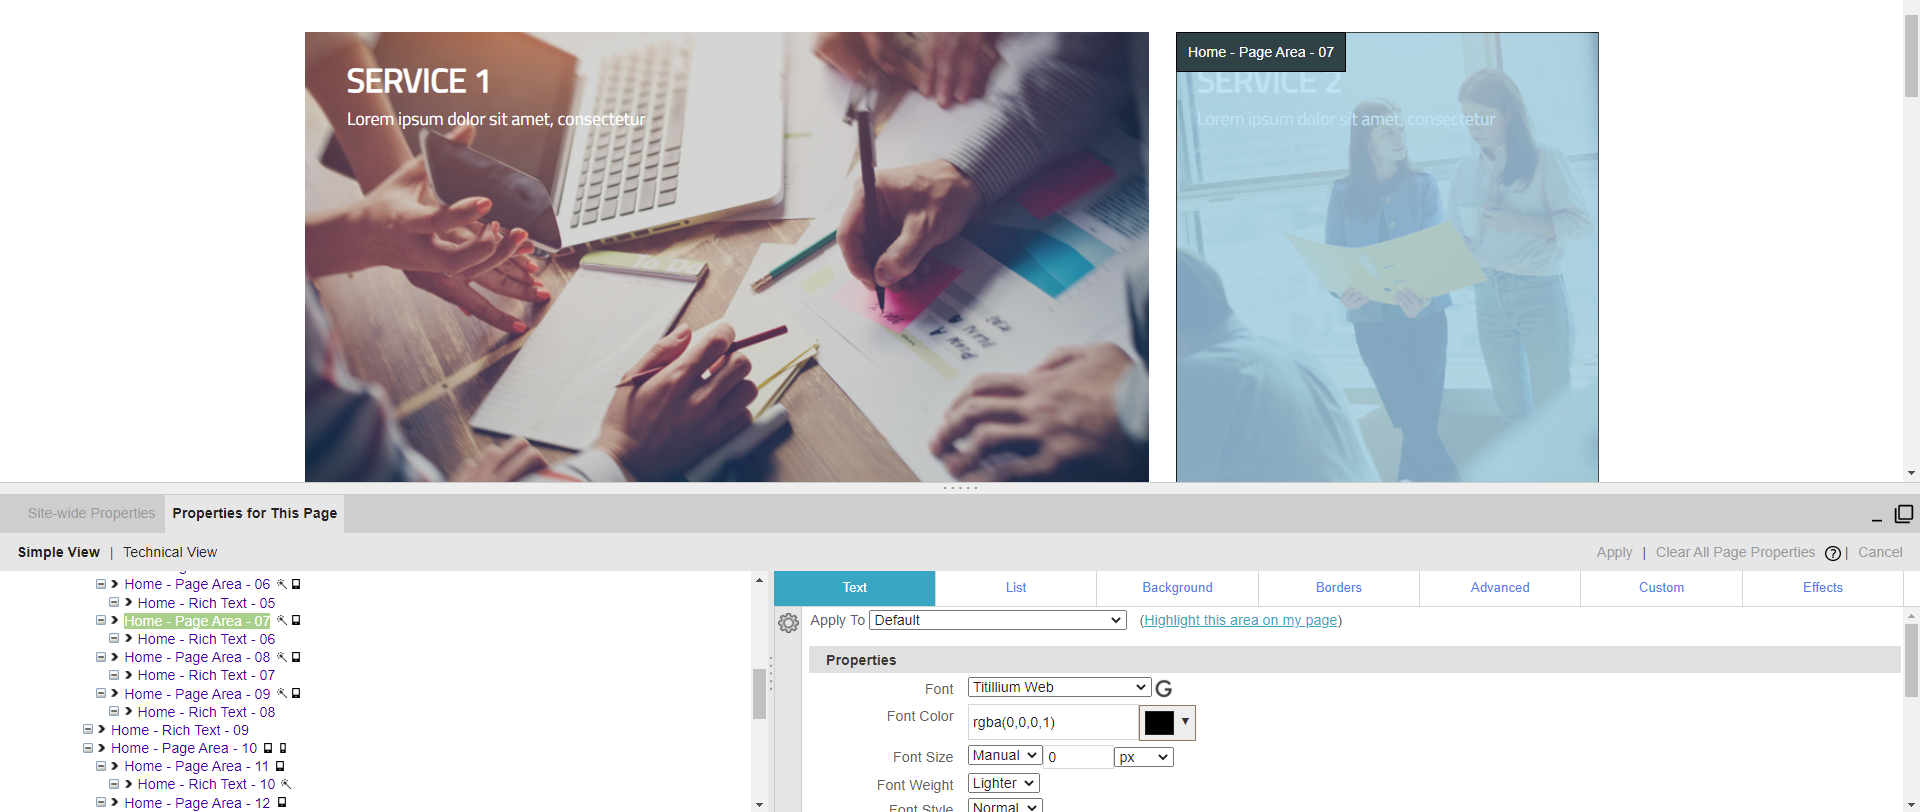
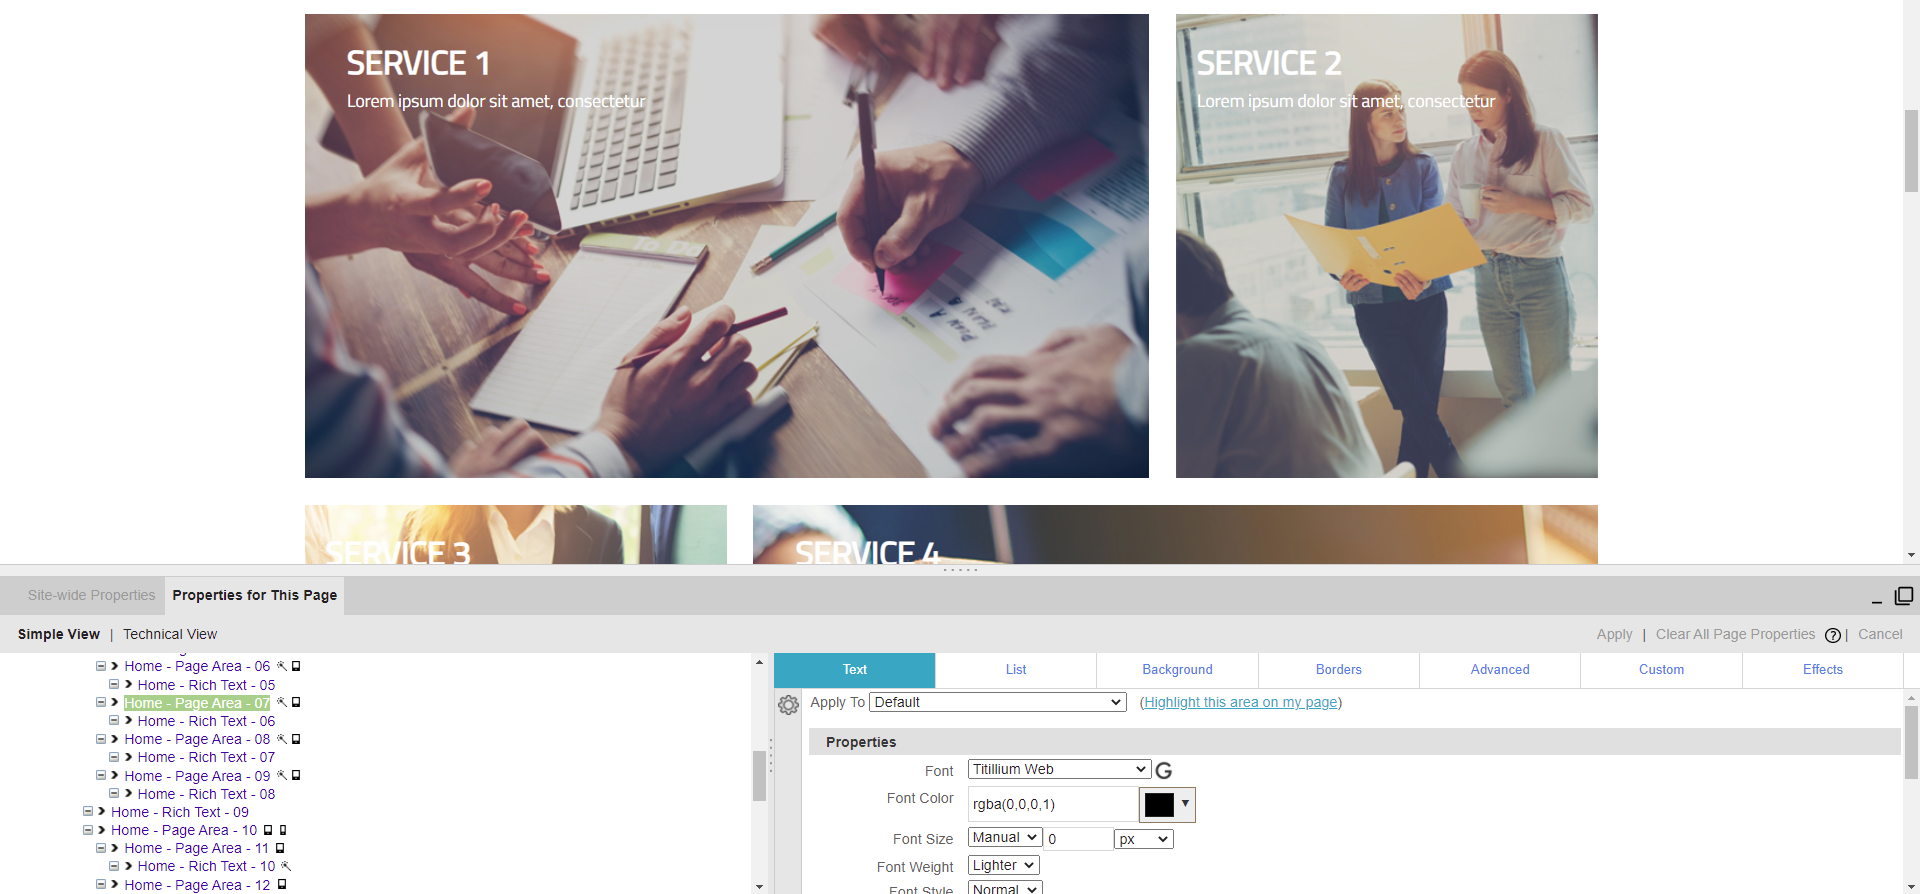
  • Open the Properties menu by clicking the "__" button in the bottom right corner.
  • Find the area you would like to add the widget to in the list. Areas will highlight as you hover over them, allowing you to find the correct area. Click the Area's name to select it.
  • For more information about editing Properties, see the Properties page.
  • Move your mouse over the Area you would like to edit. A Site Area will highlight in gray, a Page Area will highlight in Blue. The Hover Menu will appear.
  • Click Properties
  • The Properties section will open.
  • For more information about editing Properties, see the Properties page.
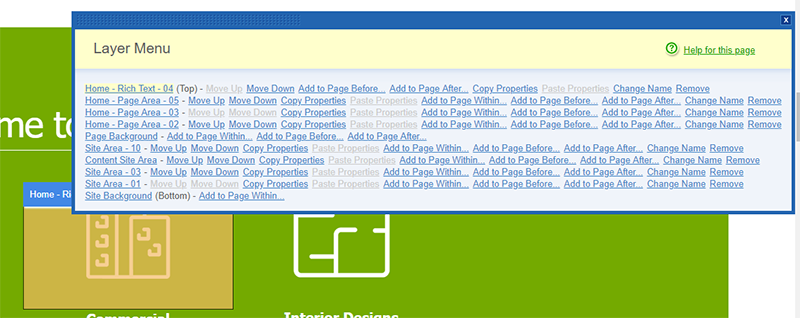
  • Move your mouse over a widget in the Area you would like to edit. The text will highlight in orange and the Hover Menu will appear.
  • Click Layer Menu.
  • Hover over the Page or Site Area you want to add the new widget to. The area will highlight to show which one you are selecting. Once you've found the area you want, click it.
  • The Properties section will open.
  • For more information about editing Properties, see the Properties page.

© 2022 4.0 Help Guide